
Why Save Your Own Seeds?
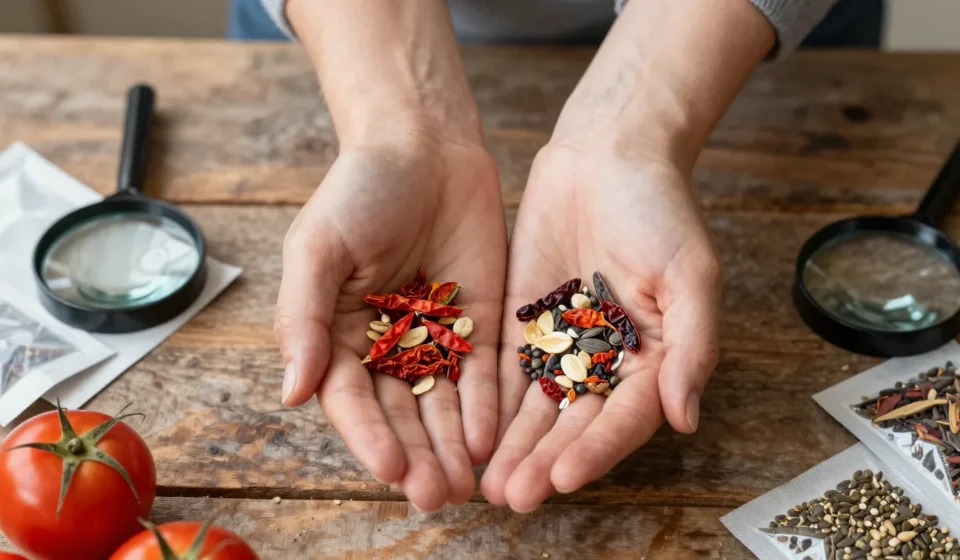
When you harvest and store seeds from your best plants, you’re not just saving money—you’re adapting your garden to your local conditions. Over time, the plants that thrive in your soil will pass on that resilience. This seed saving guide walks you through the basics for common vegetables and flowers, with an emphasis on maintaining genetic purity.
Start with open-pollinated or heirloom varieties. Hybrid seeds (F1) won't come true from saved seed, so always check the packet.
Reliable sources include Seed Savers Exchange and Johnny's Selected Seeds.
Seed Saving Guide: Choosing the Right Plants
Focus on easy, self-pollinating crops first: tomatoes, beans, peas, lettuce, and peppers. These have low risk of cross-pollination.
For squash, corn, and brassicas, you need isolation distances or hand-pollination to keep varieties pure. A proper seed saving guide always emphasizes starting with these forgiving species.
Genetic Purity Basics
To avoid unexpected crosses, separate different varieties of the same species. For wind-pollinated plants like corn, plant at least 200 feet apart.
For insect-pollinated plants, use row covers or stagger flowering times. A good rule: grow only one variety per species if you're a beginner.
Step-by-Step: Harvesting Seeds from Common Vegetables
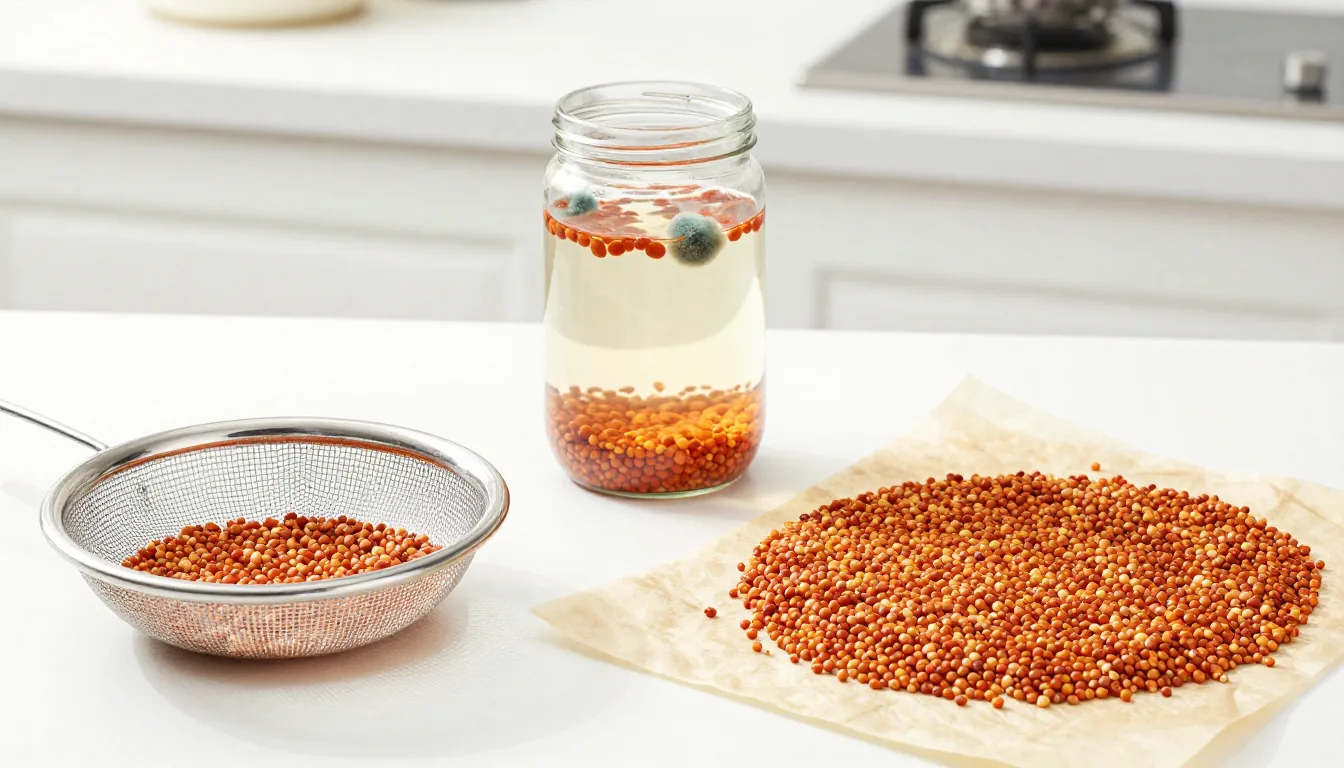
Tomatoes: Let fruits fully ripen on the vine. Scoop seeds into a jar with water, ferment for 2–3 days until a mold forms, then rinse and dry on a coffee filter.
This seed saving guide technique ensures you remove the gelatinous coating that inhibits germination.
Beans: Allow pods to turn brown and brittle on the plant. Shell seeds and dry them for a week in a warm, airy place.
Peppers: Slice open fully ripe peppers (red, orange, or yellow). Scrape seeds onto a paper towel, dry for 1–2 weeks until they snap when bent.
Lettuce: Let bolted flowers develop fluffy seed heads. Cut stalks into a paper bag, shake, and winnow away chaff.
Saving Flower Seeds
Flowers like marigolds, zinnias, and sunflowers are also excellent for beginners. Wait until the flower heads are completely dry and brown.
For sunflowers, cover the head with a paper bag to catch falling seeds. Store in a cool, dry place until planting season.
Drying Seeds Properly
Seeds must be bone-dry before storage or they will rot. Spread them on a screen or paper plate in a single layer, away from direct sunlight.
Stir daily. Drying times vary: tomato seeds take 5–7 days, bean seeds 7–10 days.
Test by pressing with a fingernail—if it doesn't dent, they are ready. Following this seed saving guide helps prevent mold issues.
Storing Seeds for Longevity
Place completely dry seeds in paper envelopes or glass jars. Add a silica gel packet or a teaspoon of powdered milk wrapped in tissue to absorb moisture.
Store in a cool, dark place: a refrigerator (not freezer) works well for most seeds. Label each packet with variety and year.
Under ideal conditions, tomato seeds last 4–5 years, onions only 1–2. A thorough seed saving guide includes proper storage to maximize viability.
Testing Seed Viability
Before planting season, test germination rates on damp paper towels. Place 10 seeds on a wet paper towel, fold, and seal in a plastic bag.
Keep in a warm spot and check after 5–7 days. Count how many sprouted; if below 70%, sow extra seeds.
This final step in any seed saving guide ensures you don't waste time on dead seeds.
Common Mistakes to Avoid
Don't save seeds from diseased plants. Avoid mixing wet and dry seeds—mold spreads fast.
Never store seeds in plastic bags; they trap humidity. Always test a few seeds on damp paper towels before planting season to check germination rates.
Following a reliable seed saving guide helps you sidestep these pitfalls.
For more Gardening & Nature tips, explore our archive. A trusted external resource for deeper learning is the Seed Savers Exchange and the University of Minnesota Extension.