Transform Your Kitchen in One Weekend: A Beginner’s Guide to Installing a Tile Backsplash

Why Install a Tile Backsplash in a Weekend
If you have been dreaming of a kitchen upgrade that packs a visual punch without breaking the bank, learning to install a tile backsplash in a weekend is your answer. This project is beginner-friendly, budget-conscious, and instantly adds personality to your cooking space.
I have guided countless friends through their first tile install. You can do this too with proper preparation and a simple design.
Subway tiles are forgiving, but you can pick any affordable ceramic or porcelain tile that speaks to your style.
Gather Your Tools and Materials
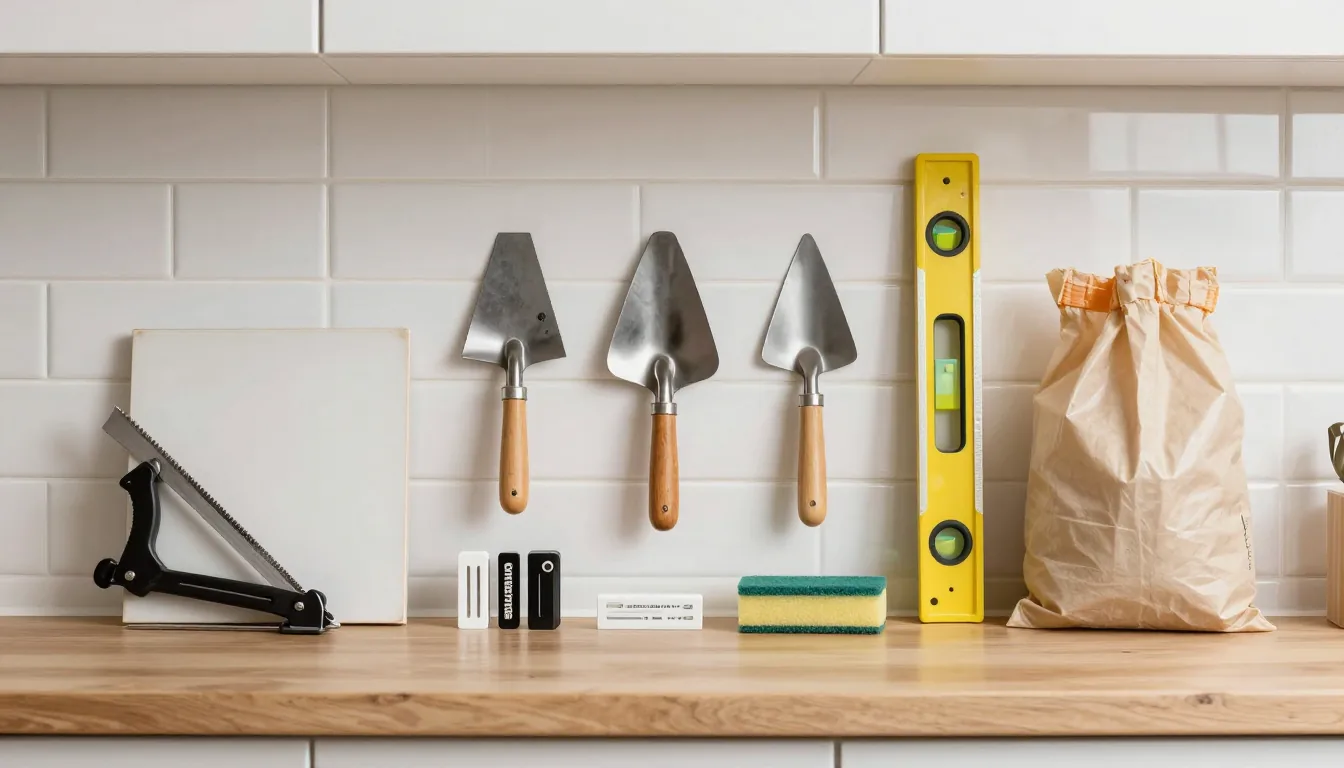
Before you start, stock up on everything you will need. You will require tile, thin-set mortar, a notched trowel, tile spacers, a wet saw or manual cutter, a sponge, grout, a grout float, and a level.
Don’t forget painter’s tape and drop cloths to protect counters and cabinets. To successfully install a tile backsplash in a weekend, having the right tools is crucial.
I recommend buying 10% extra tile to cover cuts and mistakes. Many home improvement stores cut larger tiles for you, saving time.
Rent a wet saw for the weekend if you do not own one — it makes clean cuts a breeze.
Measure Your Backsplash Area
Measure the length and height of your backsplash area, then multiply to get square footage. Add 10% for waste.
For a standard kitchen, you will likely need between 15 and 25 square feet of tile. Write down your measurements before heading to the store.
Pro tip: Snap a photo of your countertop and cabinets to match tile colors. Bring a sample home to see it in your kitchen lighting before committing.
Prepare Your Workspace
Clear your counters of all items. Cover them with drop cloths and painter’s tape.
Remove outlet covers and switch plates. If you have an existing backsplash, remove it and patch any holes.
Clean the wall thoroughly so the adhesive sticks well. A clean wall is key to install a tile backsplash in a weekend without hiccups.
Check if the wall is flat with a level. If there are bumps larger than ¼ inch, sand them down.
A smooth surface ensures your tile lies evenly and prevents lippage.
Set Up a Layout Guide
Find the center of your backsplash area and mark a vertical line. Use a level to draw a horizontal line near the bottom as your starting row.
This helps keep your tiles straight and symmetrical. Dry-lay a row of tiles along the counter to check alignment.
If you have an uneven countertop, start your first row of full tiles above the counter, then cut the bottom row to fit. This hides cut edges at the bottom and gives a clean look.
Apply Thin-Set and Lay Tiles
Mix your thin-set mortar according to package directions. It should have a peanut butter consistency.
Using the notched trowel, spread thin-set over a small section (about 2 feet wide). Hold the trowel at a 45-degree angle to create even ridges.
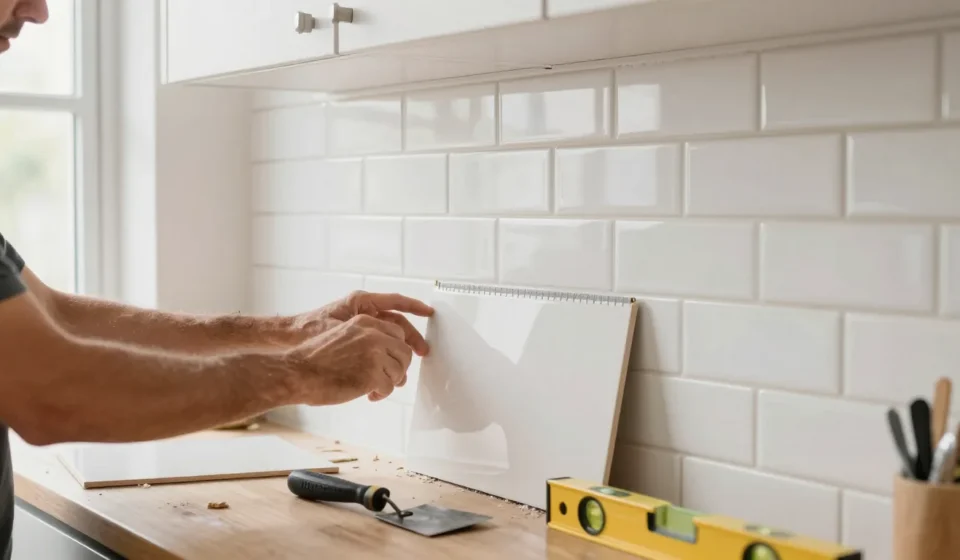
Press your first tile into place along your guide lines, twisting slightly to embed it. Insert spacers for consistent grout lines.
Continue adding tiles, checking with a level every few rows. Work in small sections to install a tile backsplash in a weekend efficiently.
When you reach outlets or obstacles, measure and cut the tile. A wet saw is best for L-shaped cuts, but a manual cutter works for straight cuts.
Always wear safety glasses when cutting tile.
Let It Set and Then Grout
Allow the thinset to cure overnight as per the manufacturer’s instructions (usually 24 hours). Next morning, remove the spacers and mix your grout.
Patience pays off when you install a tile backsplash in a weekend.
Dampen the tiles slightly so the grout doesn’t dry too fast. Apply grout with a float, pressing it firmly into the joints at a 45-degree angle.
Scrape off excess grout with the float edge, then wipe the tiles with a damp sponge in a circular motion. Rinse the sponge frequently to avoid haze.
Let the grout set for about 15 minutes before doing a final wipe. Finally, buff off any residue with a dry cloth once the grout hardens.
Seal and Enjoy Your New Backsplash
After the grout has fully cured (follow package timing), apply a grout sealer with a small brush to protect against stains and moisture. This step is crucial in a kitchen where splashes are common.
Let it dry for the recommended time.
Replace outlet covers and switch plates. Step back and admire your handiwork!
You successfully learned to install a tile backsplash in a weekend — congratulations. Share your results with friends and enjoy your stylish new kitchen.
For more inspiration and tips, browse our Home Decor & DIY category. If you are looking for more budget-friendly projects, check out Better Homes & Gardens backsplash ideas or DIY Network’s tutorial.