
Why Tempering Chocolate Matters
Chocolate tempering is the process of carefully heating and cooling chocolate to stabilize cocoa butter crystals. Without proper tempering, chocolate develops a dull, streaky appearance and a soft, crumbly texture. Tempering chocolate technique is essential for professional-looking confections and enrobed treats.
The science behind tempering lies in the six crystal forms of cocoa butter. Only beta crystals (Form V) produce the desirable snap and gloss.
The goal is to encourage these stable crystals while eliminating unstable ones.
The Seeding Method: Reliable and Beginner-Friendly
Finely chop ⅔ of your chocolate and set aside. Melt the remaining ⅓ gently in a double boiler until it reaches 115°F (46°C) for dark chocolate, 110°F (43°C) for milk, or 105°F (40°C) for white.
This seeding method is a common tempering chocolate technique that yields consistent results.
Remove from heat and add the reserved chopped chocolate, stirring constantly. The seeds act as a template for beta crystals to form.
Continue stirring until all pieces melt and the temperature drops to 88–90°F for dark, 86–88°F for milk, or 84–86°F for white.
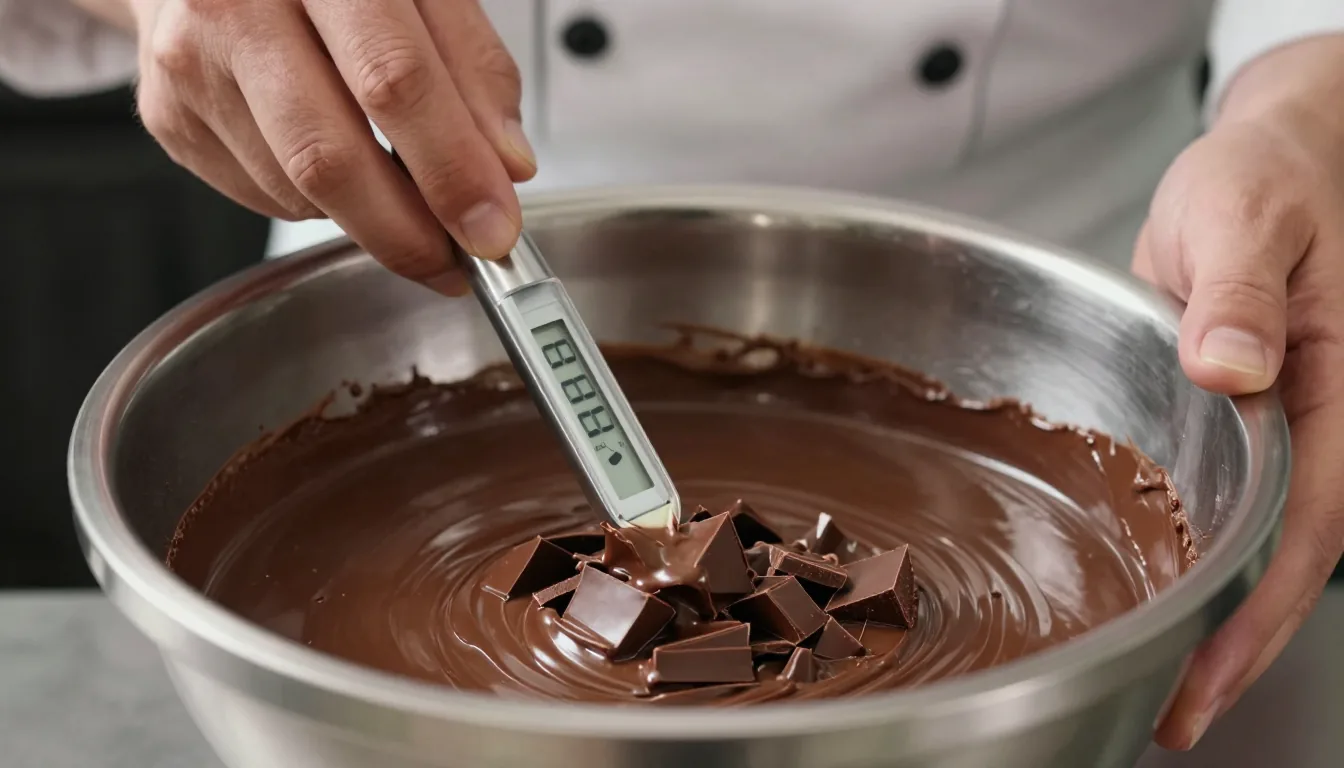
Test the temper by dipping a knife tip into the chocolate; it should set within 3–5 minutes with a shiny finish. If not, reheat slightly and reseed.
Pro Tips for Seeding Success
Use a high-quality couverture chocolate with at least 32% cocoa butter. Precise temperature control is vital; invest in a digital thermometer.
Work in a cool, dry room (65–70°F) for best results.
Never let water touch the chocolate; even a drop can cause seizing. Keep utensils completely dry.
The Tabling Method: A Classic Chefs’ Approach
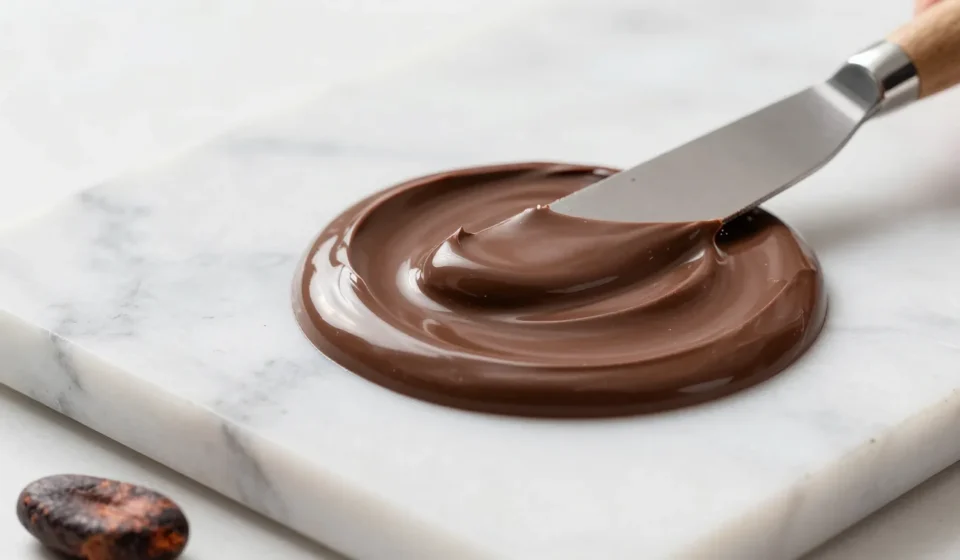
Melt chocolate to 115°F (46°C). Pour two-thirds onto a clean marble or granite surface.
Spread and scrape with a palette knife until it cools to about 82°F (28°C). This table method is a time-honored tempering chocolate technique favored in professional kitchens.
Return the cooled chocolate to the remaining warm chocolate and mix thoroughly. Reheat briefly to working temperature: 88–90°F for dark, 86–88°F for milk, 84–86°F for white.
This method builds a high percentage of beta crystals through intense mechanical agitation. It’s faster than seeding but requires practice to avoid splashing or overheating.
When to Use Tabling
Tabling is ideal for large quantities and professional kitchens where speed matters. It also gives you tactile feedback on cooling progress via the chocolate’s thickening feel.
Be mindful of contamination—marble must be absolutely clean and dry. Wear gloves to avoid fingerprints that can disrupt crystallisation.
Microwave Tempering: Quick and Efficient
Microwave tempering works with finely chopped chocolate in short bursts. Heat for 15–20 seconds at low power, stirring well after each burst, until the chocolate reaches 115°F.
This tempering chocolate technique is perfect for small batches and home use.
Remove and add a small handful of fresh chopped chocolate, stirring to melt. Use the residual heat to encourage tempering.
Check temperature; if above working range, let cool naturally while stirring.
Repeat the seeding step once or twice until the chocolate thickens slightly and shows a glossy sheen. Test on a strip of parchment—should set glossy and snap cleanly.
Microwave Precautions
Chocolate scorches easily; never use high power. Microwave wattages vary, so adjust time accordingly.
A bowl with a wide base helps distribute heat evenly.
This method is best for small batches (under 200g) because the narrow container can lead to uneven heating in larger amounts.
Common Troubleshooting Tips
If chocolate develops streaks or white spots after setting, it is untempered. Re-melt and re-temper, ensuring you reach the correct temperature curve.
A flawed tempering chocolate technique often causes these issues.
If chocolate is too thick, it may be over-tempered. Warm slightly and add a little cocoa butter to restore fluidity.
Blisters indicate overheating; discard that batch as flavour is compromised.
Humidity above 50% can cause sugar bloom. Store finished chocolates in a cool, dry place between 60–68°F.
Always use Gastronomy & Food resources to deepen your understanding of chocolate science. For further reading, consult Chocolate Alchemy and Serious Eats.
Tempering Chocolate Technique: Final Thoughts
Mastering the tempering chocolate technique opens up a world of glossy bonbons, crisp bark, and elegant decorations. Each method offers distinct advantages: seeding is most forgiving, tabling is efficient for volume, and microwave suits quick DIY projects.
With practice and careful temperature control, you will consistently achieve that satisfying snap and mirror-like shine. Respect the chocolate, and it will reward you.