
Why a Self-Watering Container Garden Saves You Time
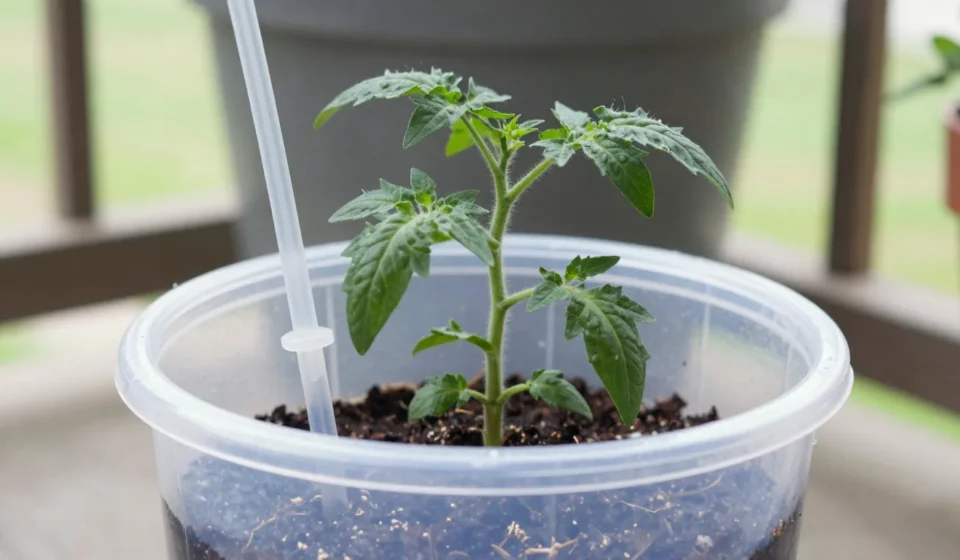
If you love plants but forget to water them, a self-watering container garden is your solution. These clever pots use a wicking system to draw water from a reservoir, keeping soil moist for days. No more daily watering chores.
This method works wonderfully for vegetables, herbs, and flowers. It's especially useful in hot summers or when you travel.
You'll conserve water too, as there's less runoff.
Materials You’ll Need for Your DIY Wicking Pot
Start with a large container, at least 10 inches deep. A plastic storage bin or a 5-gallon bucket works perfectly.
You'll also need a smaller container (like a yogurt cup) for the reservoir.
Other essentials: a drill with a quarter-inch bit, a piece of PVC pipe (about 2 inches diameter), landscape fabric or mesh, and potting mix. Avoid garden soil—it compacts and fails in wicking systems.
Step 1: Drill the Overflow Hole
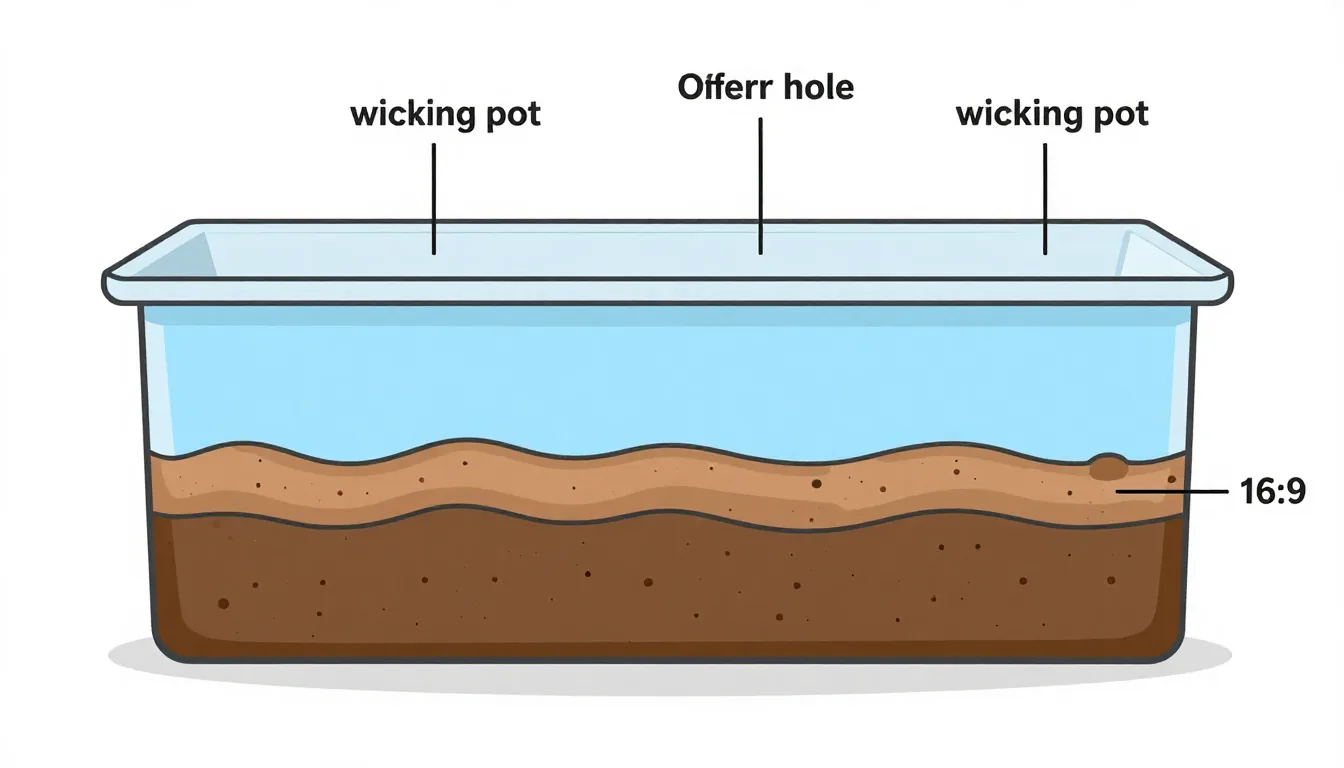
Drill a hole about 4 inches from the bottom of your outer container. This will be the overflow level, preventing root rot.
Mark the height where the reservoir should sit.
Test the hole by filling water to that level and letting it drain. Adjust if needed.
The reservoir holds water while the soil above stays aerated.
Step 2: Create the Wicking Chamber
Take your smaller container and cut a few holes in its bottom. This will hold the wicking material.
Place it upside down in the outer container, directly under where the planting pot will sit.
Alternatively, use a PVC pipe with holes as a wicking tube. The key is to create a channel that brings water upward into the soil.
Step 3: Insert the Fill Tube
Cut a length of PVC pipe that reaches from the top of the pot down to the reservoir. Drill a small hole near the bottom of the pipe to let water flow out.
Insert it vertically.
Cover the top with a cap or mesh to keep out mosquitoes. You’ll pour water directly into this tube to refill the reservoir.
Assembling the System
Line the bottom of your outer container with landscape fabric. Place the wicking chamber over the overflow hole area.
Then add a layer of coarse gravel or perlite around the chamber—this helps water distribution.
Now lower your inner pot (the one that will hold plants) into the outer container. Ensure it's stable and the wicking chamber is snug.
The inner pot must have drainage holes at the bottom and side slits for water entry.
Once assembled, your self-watering container garden will require minimal maintenance. The wicking material ensures your self-watering container garden stays hydrated between refills.
Wicking Material Options
Use natural fiber rope, strips of old t-shirt, or felt fabric. One end goes into the reservoir, the other into the soil of the inner pot.
This capillary action pulls water up as the soil dries.
For best results, use a thick wick that reaches about halfway up the soil. Test it by wetting the wick and placing it in the reservoir—water should climb within an hour.
Planting and Maintaining Your Container Garden
Fill the inner pot with high-quality potting mix, leaving space for plants. Moisten the soil before planting.
This helps establish strong roots.
Choose thirsty plants like tomatoes, peppers, or basil. Succulents dislike constant moisture, so skip them.
Water from the top for the first week to establish roots. After that, use the fill tube.
Check the reservoir weekly—roots will grow into it, but that's fine.
Seasonal Care Tips
In winter, empty the reservoir to prevent freezing. In summer, add a diluted organic fertilizer monthly.
Clean the overflow hole if it clogs.
Your self-watering container garden will thrive with minimal effort.
For more gardening wisdom, explore our Gardening & Nature category. Also, learn about soil health from Rodale’s Organic Life and wicking bed designs from Deep Green Permaculture.