
Why Choose a Worm Bin for Your Kitchen Scraps
Vermicomposting turns leftover food into black gold for your soil. A worm bin composting system is compact, odorless, and perfect for apartments or small yards. Red wigglers (Eisenia fetida) are the stars—they eat half their weight daily and produce castings rich in microbes and nutrients.
With a worm bin, you can recycle up to half of your household waste into a valuable soil amendment. It’s a sustainable practice that reduces landfill contributions and enriches your garden naturally.
This technique of worm bin composting is ideal for beginners seeking a low-maintenance solution.
Gathering the Right Supplies
You need three basic items: a bin, bedding, and worms. A plastic storage tote (10–15 gallons) works well.
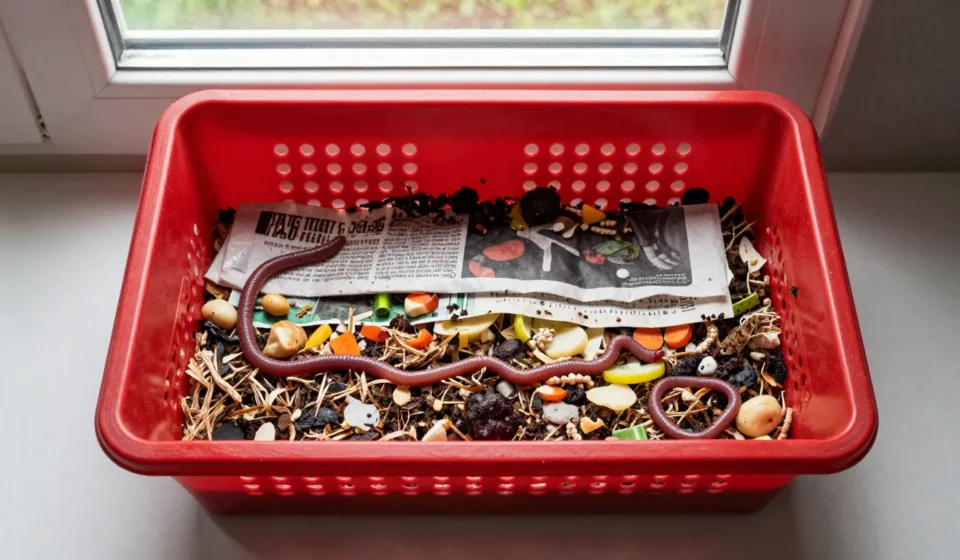
Drill quarter-inch holes in the lid and upper sides for airflow. Bedding can be shredded newspaper, coconut coir, or aged cardboard—moisten it until it feels like a wrung-out sponge.
Order red wigglers online or from a local bait shop. Start with one pound (about 1,000 worms) per square foot of bin surface.
Avoid earthworms; they need deep soil. Proper preparation ensures a successful start to your worm bin composting journey.
Worm Bin Composting Setup Steps
Fill the bin two-thirds full with moist bedding. Fluff it to create air pockets.
Add a handful of garden soil or crushed eggshells for grit—worms have gizzards that need grit to grind food. Then gently spread the worms on top; they'll burrow down on their own.
Place the bin in a cool, dark spot like under the sink or in a basement. Ideal temperature is 55–77°F.
Direct sunlight or heat will stress them. A consistent environment is key for worm bin composting success.
Feeding Your Worms
Start with a small amount of food—about one cup per week for a pound of worms. Bury scraps under the bedding to prevent flies and smells.
Good foods: fruit and vegetable peels, coffee grounds, crushed eggshells, and plain bread. Avoid meat, dairy, oily foods, citrus, and onions.
Observe how fast the worms process food. If food remains after a week, reduce portions.
If it disappears quickly, increase slightly. A healthy bin smells earthy, not rotten.
Proper feeding is crucial to successful worm bin composting—too much can cause odors.
Maintaining Moisture and Aeration
Worms breathe through their skin and need moisture. The bedding should always feel like a damp sponge.
If it's dry, mist with water; if too wet, add dry shredded paper. Gently stir the bedding once a week to aerate and move uneaten food deeper.
If you see mites or fruit flies, bury food deeper and reduce moisture. A light layer of dry newspaper on top also deters pests.
Regular attention will keep your worm bin composting system productive.
Harvesting the Vermicompost
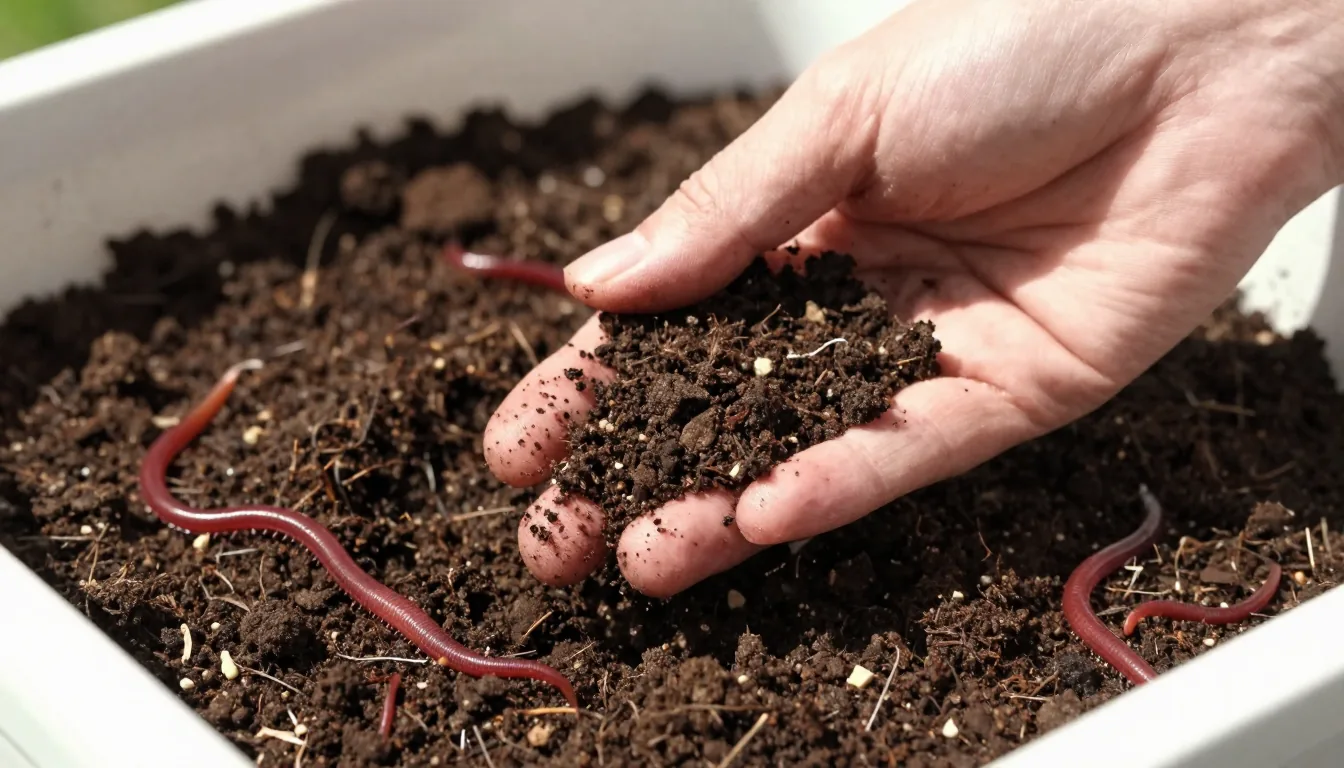
After two to four months, the bin will be dark and crumbly with few recognizable scraps. There are several harvest methods.
The simplest: push all contents to one side, add fresh bedding and food to the empty side, and stop feeding the old side. In a month, worms migrate to the new side, leaving finished castings behind.
Scoop them out and use immediately or store in a breathable bag.
Another approach is to dump the bin under bright light and pick castings off the top surface; worms hate light and will burrow down. Either way, you get pure Gardening & Nature fertilizer. Harvesting the finished castings is the rewarding culmination of your worm bin composting efforts.
Using Your Worm Castings
Vermicompost is gentle and can be used directly. Mix it into potting soil at a 1:4 ratio, or top-dress garden beds with a half-inch layer.
Make compost tea by steeping a handful in water overnight—use it as a liquid feed for houseplants and seedlings. Castings improve soil structure, water retention, and disease resistance.
For more on soil-building, see this Fine Gardening article or the University of Maryland Extension guide.
Troubleshooting Common Issues
If worms try to escape, the bin is too wet, too dry, or lacks food. Check moisture and add bedding if needed.
A sour smell means overfeeding or poor aeration—cut back food and stir. If you notice tiny white mites, they're harmless but indicate excess moisture; let the bin dry slightly.
With a little practice, your worm bin will become a self-sustaining cycle. The worms reproduce quickly, so you can share extras with friends.
Start small, observe, and enjoy the richest compost nature offers.