
Why Follow a Cast Iron Seasoning Guide?
Following a comprehensive cast iron seasoning guide is essential for achieving a durable nonstick surface. Seasoning bakes oil onto the iron, creating a polymerized layer that prevents rust and food from sticking.
This guide covers everything from stripping old seasoning to building a kitchen-ready finish. Whether you have a new skillet or a vintage find, these techniques apply. Trust this cast iron seasoning guide to transform your cookware.
Choosing the Right Oil for Seasoning
Not all oils are equal for seasoning. You need an oil with a high smoke point and a tendency to polymerize, forming hard, glossy layers when heated.
Flaxseed oil is a favorite for its fast polymerization, but it can flake over time. Grapeseed, sunflower, or canola oil offer excellent results. According to Serious Eats, grapeseed oil is a top choice.
Avoid olive oil or butter; they burn at low temperatures and create sticky residue. For this cast iron seasoning guide, we recommend grapeseed oil for its balance of availability and performance.
Step 1: Clean and Strip the Pan
If your skillet has rust or old, flaking seasoning, remove it completely. Scrub with steel wool and warm soapy water—yes, soap is fine once, as it won't damage bare iron.
For stubborn rust, use a vinegar bath (1:1 water to vinegar) for 30 minutes.
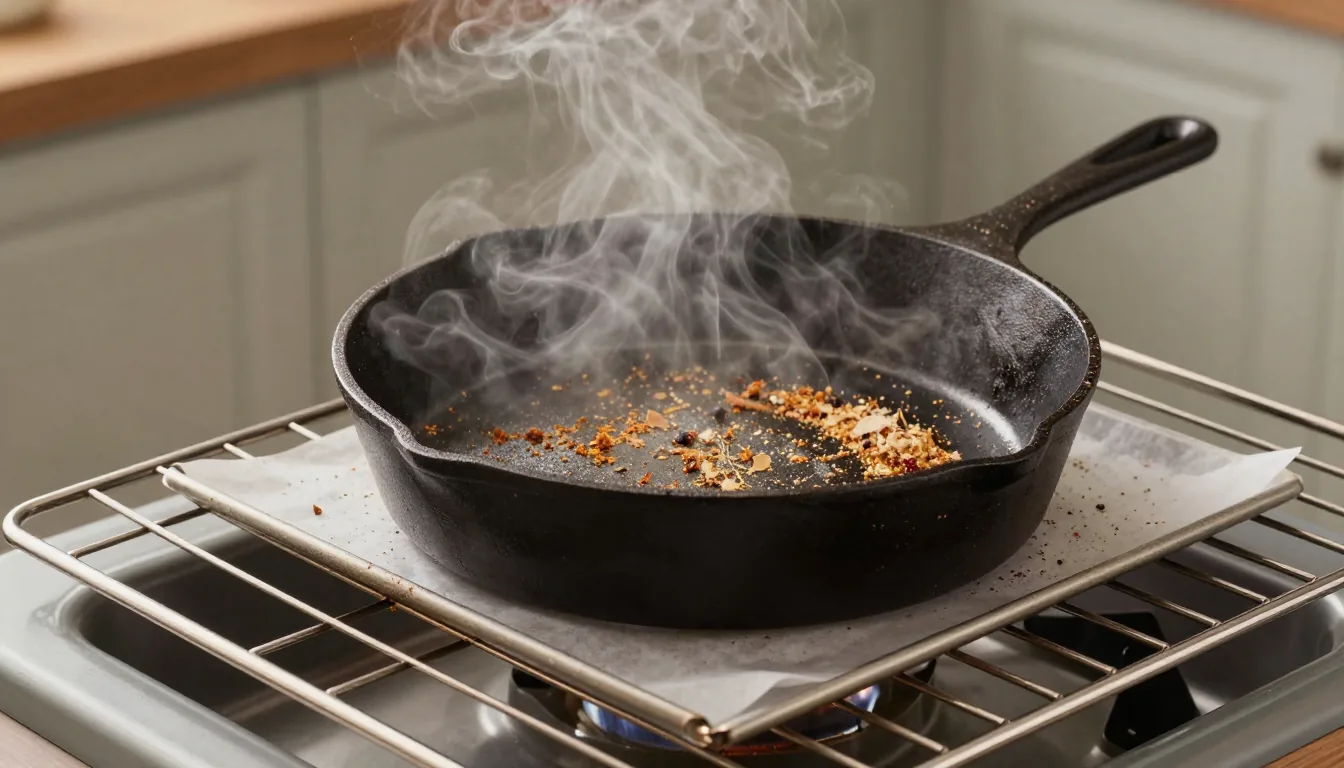
Rinse thoroughly and dry immediately with a lint-free cloth. Place on a warm burner to evaporate all moisture.
Bare iron must be oiled right away to prevent flash rust.
Step 2: Apply a Thin, Even Coat of Oil
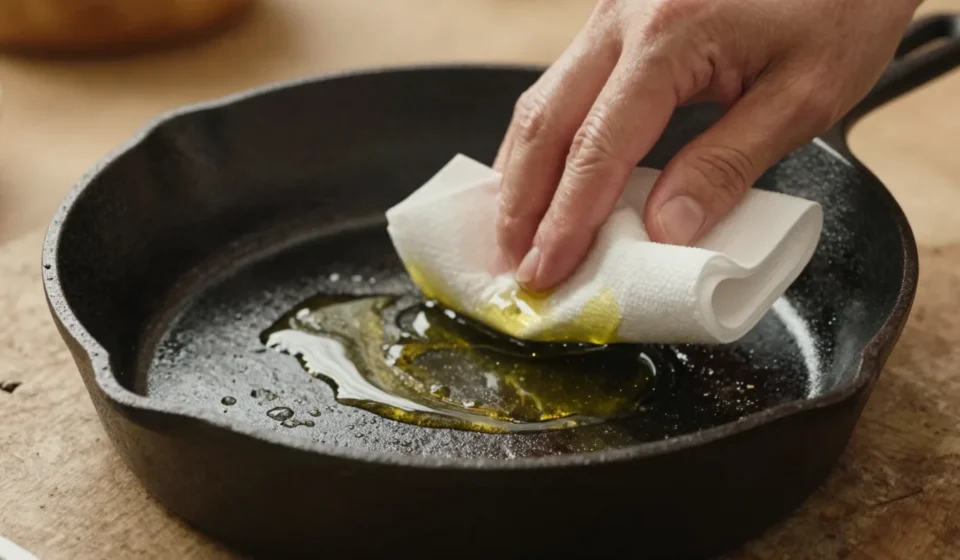
Pour a teaspoon of oil into the pan. Use a paper towel to rub it across the entire surface, including the handle and exterior.
The key is to apply a very thin layer—wipe off as much oil as possible. A common mistake is applying too much, leading to sticky, uneven seasoning.
Imagine you’re trying to remove the oil; that’s the right amount. A micro-thin layer ensures polymerization without pooling.
Step 3: Bake at the Right Temperature
Preheat your oven to 450°F–500°F (232°C–260°C). Place the pan upside down on the middle rack with a baking sheet on the lower rack to catch drips.
Bake for one hour, then turn off the oven and let the pan cool inside.
The high heat bonds oil to iron, creating the nonstick layer. This cast iron seasoning guide recommends at least three cycles for best results. Each cycle builds a stronger coat.
Step 4: Maintenance and Care
After cooking, clean your skillet with hot water and a stiff brush—soap is now optional but gentle dish soap is fine for occasional use. Dry thoroughly on the stovetop, then rub a tiny amount of oil onto the warm surface before storing.
Avoid acidic foods like tomatoes or vinegar in a newly seasoned pan; let the coating cure through repeated use of fatty foods like bacon or fried eggs. For official advice, visit Lodge Cast Iron Care.
Troubleshooting Common Seasoning Issues
If your seasoning flakes, the oil layer was too thick or the temperature too low. Strip and start again.
If the pan feels sticky, it wasn't baked long enough or the oil wasn't wiped thin.
Rust spots mean moisture was left behind. Scrub with steel wool, re-season, and always dry thoroughly. Refer to this cast iron seasoning guide to resolve common issues.
For more insights on caring for your cookware, explore our Gastronomy & Food section, where we share expert tips from professional kitchens.
This cast iron seasoning guide gives you everything you need to revive and maintain your cherished pans. With patience and practice, you’ll achieve a surface as nonstick as any modern coating—and far more durable.