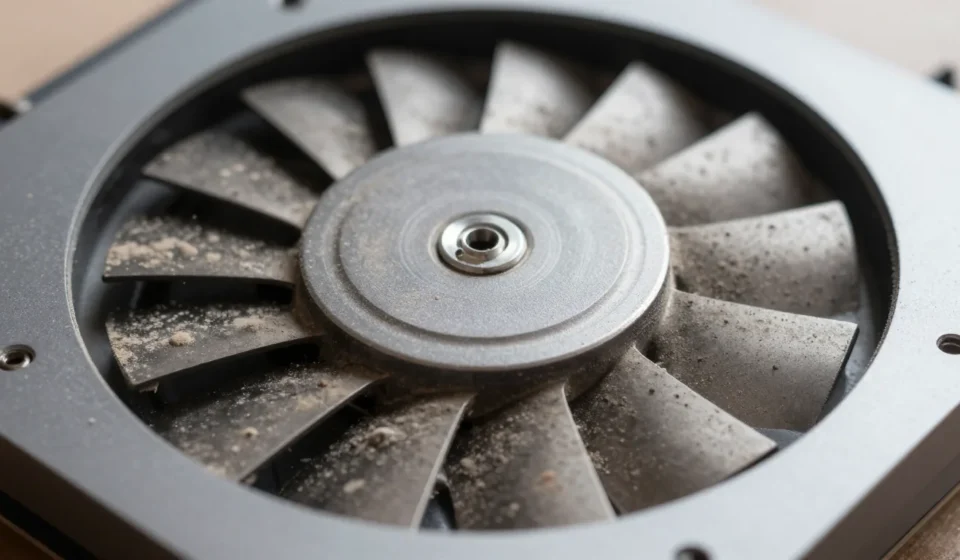

The Importance of Dust-Free Fans
Learning how to clean laptop fans is the first step to preventing heat-related failures. Dust blocks the fins of the heatsink and clogs the fan blades, reducing cooling efficiency.
Over time, this leads to higher operating temperatures and potential hardware damage.
Regularly cleaning laptop fans maintains optimal airflow and prevents thermal throttling. A clean fan system ensures your CPU and GPU stay within safe temperature ranges.
This preserves performance during intensive tasks and prolongs component lifespan.
Neglecting fan maintenance can void warranties and lead to costly repairs. A simple cleaning routine every few months saves money and hassle.
Investing 30 minutes now can prevent an expensive motherboard replacement later.
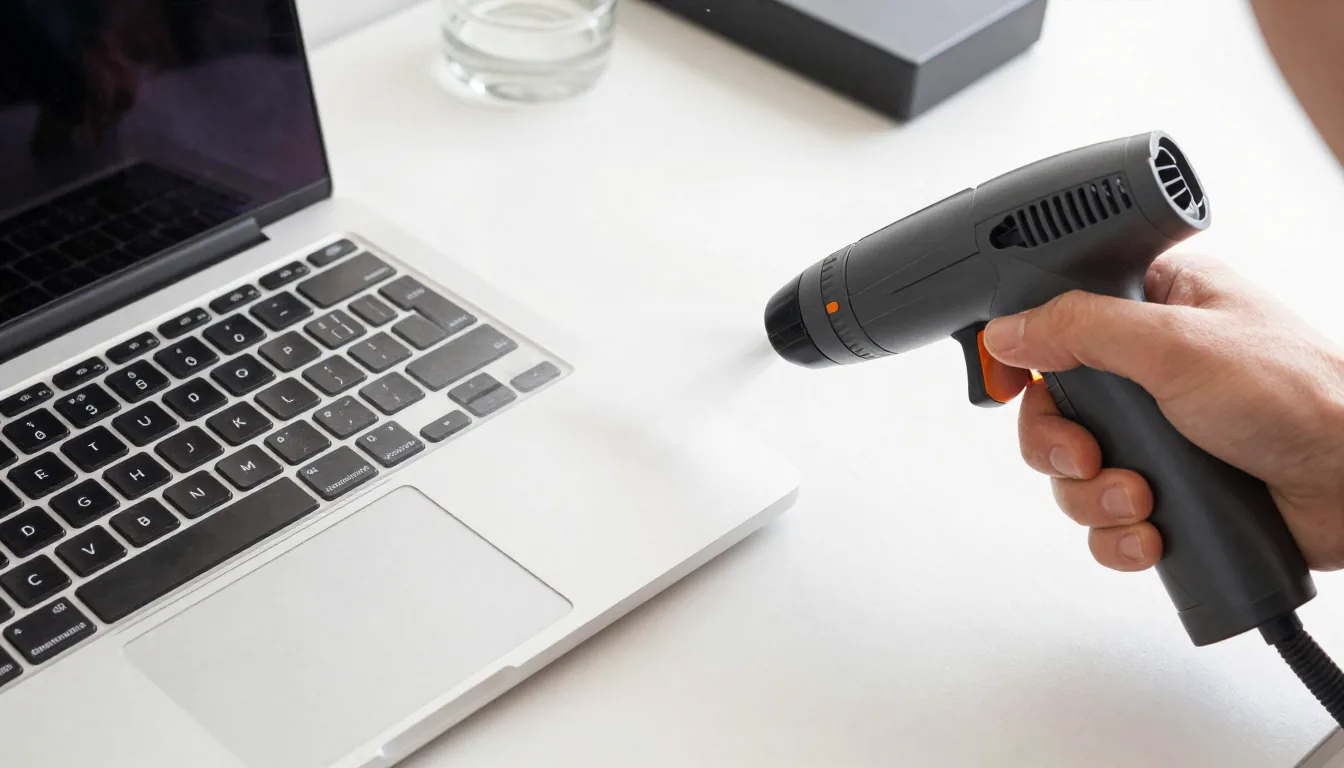
Tools You’ll Need for a Safe Clean
Gather these items before starting: a small Phillips-head screwdriver, compressed air canister, soft brush, and isopropyl alcohol (70% or higher). A compressed air can is perfect for cleaning laptop fans.
You may also need thermal paste if you plan to remove the heatsink.
Optional tools include an anti-static wrist strap, tweezers, and a toothpick to hold fan blades. Having the right tools ensures a safe and efficient cleaning process.
Avoid vacuum cleaners, as they generate static electricity that can harm components.
Signs Your Laptop Fans Need Cleaning
Watch for these indicators: unusual noise like grinding or whirring, increased fan speed even at idle, and higher operating temperatures. If your laptop feels hotter than usual on the bottom, it's time to clean the fans.
Cleaning laptop fans as soon as you notice these signs can prevent damage.
Other symptoms include poor performance in demanding applications and excessive fan activity when doing simple tasks. You might also see dust escaping from vents when you tap the chassis.
Ignoring these signs can lead to permanent damage, so inspect your fans every few months.
Precautions to Protect Your Laptop
Always power down your laptop, unplug the charger, and remove the battery if possible. Work on a clean, flat surface and ground yourself to prevent electrostatic discharge.
Knowing how to safely clean laptop fans is crucial to avoid damage.
Wear an anti-static wrist strap and ensure good lighting. These steps minimize the risk of short circuits or static damage.
Remember, sensitive electronics can be ruined by a simple spark. Patience and caution are your best allies.
How to Clean Laptop Fans Safely
Start by turning off your laptop and disconnecting all cables. Remove the bottom panel and locate the fan(s) near the heat pipes.
Use compressed air to blow dust outwards while holding the fan blades steady with a toothpick to prevent voltage feedback.
For stubborn dust, gently brush the blades with a soft brush. If there is hardened debris, use a lightly moistened cotton swab with isopropyl alcohol.
Let it dry completely and avoid touching the thermal paste.
Dealing with Heatsink and Thermal Paste
If you removed the heatsink, clean off old thermal paste with rubbing alcohol and apply a fresh layer. After cleaning laptop fans, reapply thermal paste if you removed the heatsink.
Use a pea-sized amount and spread it evenly.
Replace the laptop panel and screws, then power on to verify the fan is spinning. Listen for unusual noises or check the BIOS for fan speed.
If the fan does not spin, recheck connections or consult a professional.
Maintenance Tips for Long-Term Performance
Establish a routine to regularly clean laptop fans every six months or sooner if overheating occurs. Keep your laptop on hard surfaces to improve airflow.
Consider a cooling pad for intensive workloads and avoid smoking near your device.
Monitor system temperatures with HWMonitor to catch rising temps early. For model-specific instructions, visit iFixit’s repair guides. To learn about proper thermal paste application, see Laptop Mag’s guide.
Explore more Tech & Gadgets maintenance guides for other DIY repairs.