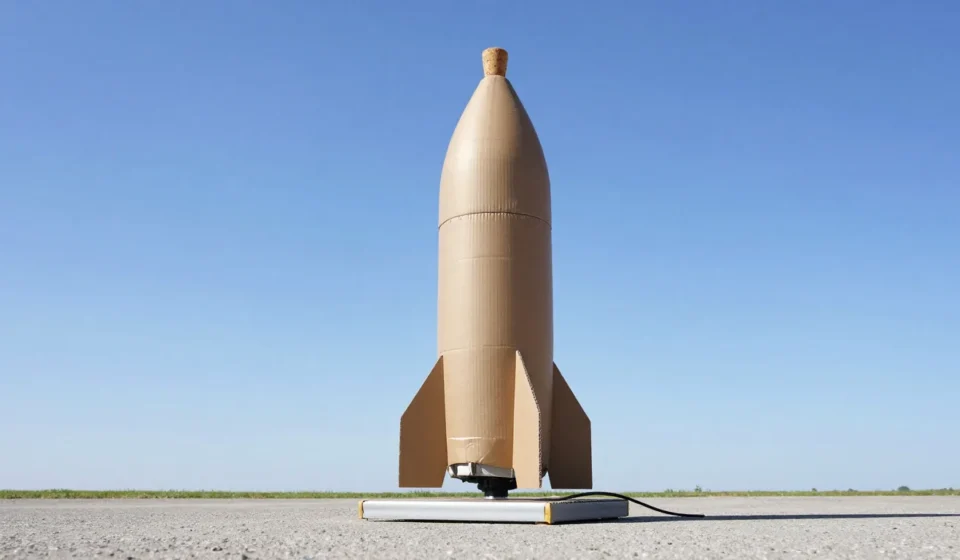

Why Build a Simple Rocket at Home?
There’s nothing quite like the thrill of watching a rocket you built soar into the sky. With just a few household items, you can experience the same principles that launch real spacecraft. This guide will show you how to safely build a simple rocket at home using a plastic bottle, water, and compressed air.
It’s a fantastic hands-on science project that demonstrates Newton’s Third Law: every action has an equal and opposite reaction. Plus, it’s completely safe when done properly.
Follow along to ignite curiosity and maybe even inspire a future engineer.
What You’ll Need: The Rocket Parts
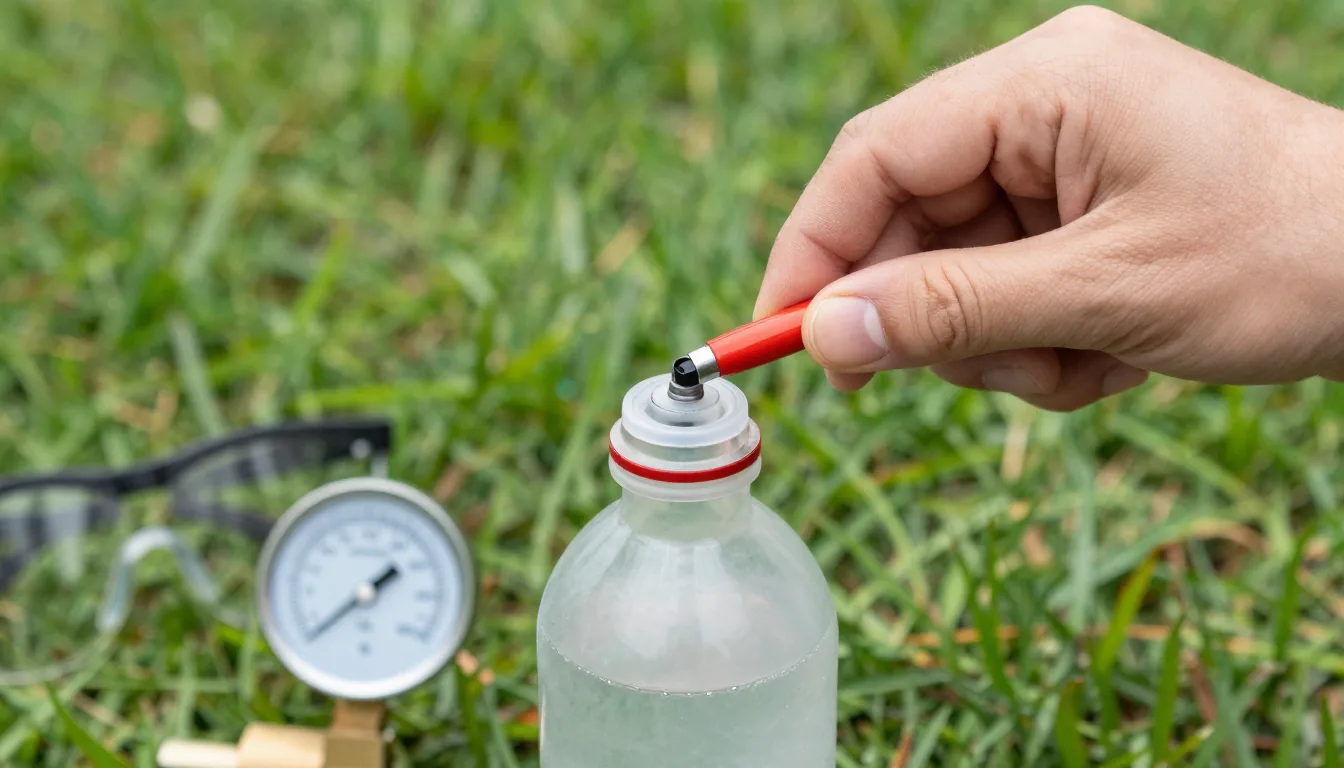
A 2-liter plastic soda bottle works best as the body. A cork or rubber stopper that fits snugly in the bottle mouth—plus a valve or tire pump adapter—will seal the pressure.
For the launch pad, use a piece of PVC pipe or a sturdy cardboard tube.
Add fins cut from cardboard or foam board to stabilize flight. Finally, a bicycle pump with a pressure gauge will compress the air.
Safety glasses are not optional—always wear them. Gather these items before you start to build a simple rocket at home.
Assembly Steps: From Bottle to Blastoff
First, clean and dry the bottle. Attach fins using strong tape or glue, placing them evenly around the base.
The fins should point straight down for stability.
Next, insert the stopper into the bottle mouth but don’t push too hard. Connect the pump’s nozzle to the stopper’s valve.
For the launch pad, place the rocket upside down on a flat surface outdoors—away from buildings and trees.
Fill the bottle about one-third full with water. Then, carefully pump air into the bottle until the stopper pops free.
The rocket will launch with a satisfying whoosh! Follow these steps to build a simple rocket at home successfully.
Safety First: Rocket Science Without Risks
Always launch outdoors in an open area. Keep spectators at least 100 feet away.
Never use metal or glass bottles—they can shatter.
Do not over-pressurize; stop at 60 psi. Wear safety glasses and never lean over the rocket.
Adult supervision is essential for children. Remember: the goal is learning, not breaking records.
What Makes It Fly? The Science Explained
When you pump air, pressure builds inside the bottle. The water acts as a propellant—when the stopper releases, pressurized air forces water out the nozzle.
Momentum pushes the rocket upward. This is action-reaction in action!
The water provides much more thrust than air alone because it’s denser. Real rockets use a similar concept with fuel and oxidizers.
You can vary water amount or fin shape to see how it affects flight. Keep a log of your launches; that’s real science.
When you build a simple rocket at home, you’re doing real physics.
Taking It Further: Add Parachutes & Payloads
Ready for an upgrade? Try adding a parachute using a plastic bag and string.
Design a nose cone from a paper cup to carry a small toy or egg. Challenge yourself to land the payload safely.
For more advanced builds, look up model rocket kits that use pre-made motors. Check out resources at NASA’s STEM at Home or Science Buddies for deeper projects. And don’t forget to explore our Popular Science & Space section for more cosmic experiments.
Common Questions & Troubleshooting
Why did my rocket spiral? Uneven fins or too much water cause instability.
Try less water or larger fins. Why didn’t it launch?
Check the stopper fit—it should pop out easily. Also, ensure the pump connection is airtight.
What if it rains? Avoid moisture on the launch pad.
Always store your rocket components dry. Remember, each failure teaches you something about physics.
Building a simple rocket at home is a gateway to understanding space exploration.
With basic materials and caution, you can recreate the wonder of a real launch. So grab a bottle, fill it with water, and send your imagination skyward.
The sky isn’t the limit—it’s the starting line.