
Seed Starting Mistakes: Overwatering
One of the most common seed starting mistakes is overwatering. Many beginners drown their seeds with love, leading to damping off and root rot.
Seeds need consistent moisture, not soggy soil—check for signs like yellowing leaves or mold on the surface.
Use a spray bottle to mist the surface until germination. After sprouts appear, water from the bottom by placing the tray in a shallow dish of water.
Check soil moisture daily by touch to avoid excess. A moisture meter can help beginners get it right.
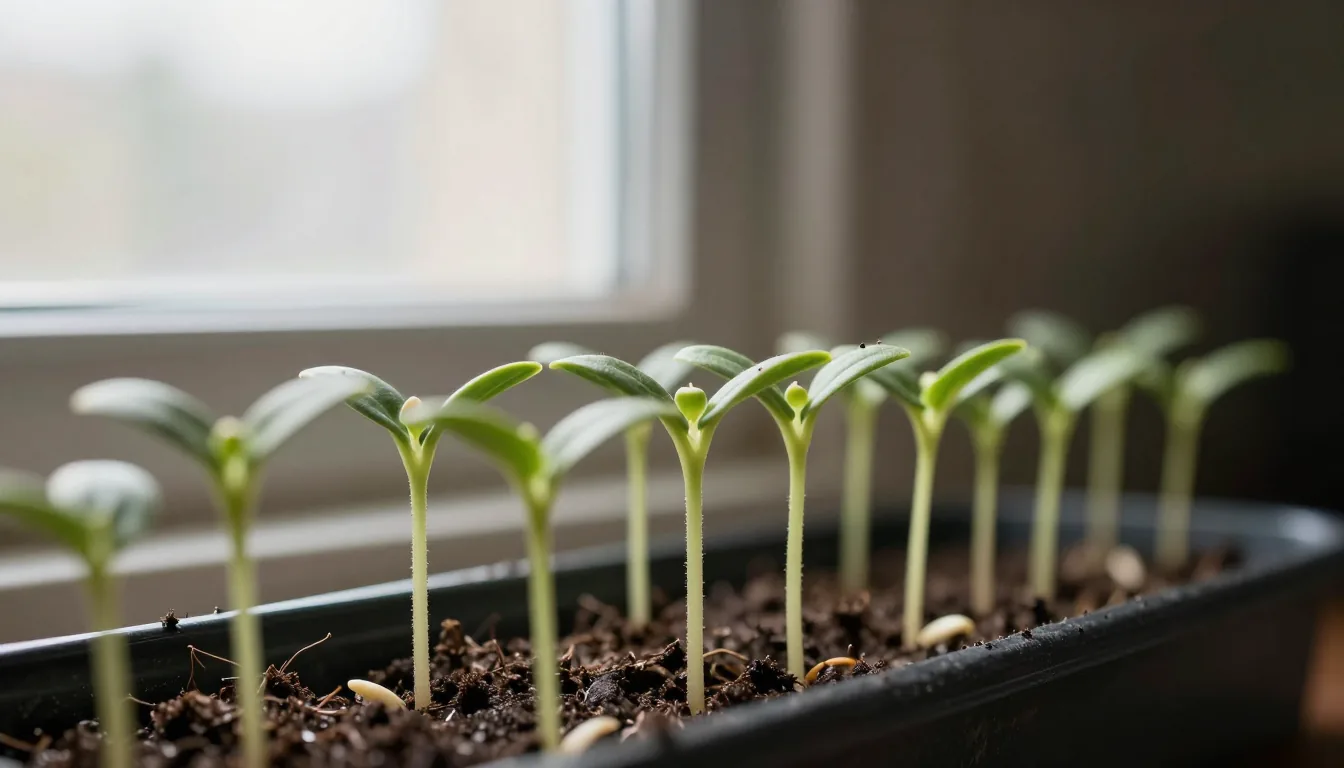
Providing Insufficient Light
Weak, leggy seedlings are a telltale sign of poor light. Windowsills often provide too little intensity, especially in winter.
This seed starting mistake can stunt growth if not corrected. Invest in a full-spectrum grow light placed 2–3 inches above the seedlings for best results.
Keep lights on for 14–16 hours daily. Use a timer for consistency and adjust height as seedlings grow to prevent burning.
LED lights are energy-efficient and produce less heat, reducing the risk of drying out your seedlings.
Using the Wrong Soil Mix
Garden soil or heavy potting mix can harbor diseases and compact easily. Using outdoor soil is a classic seed starting mistake that leads to poor drainage and disease.
Avoid this by using a sterile, lightweight seed-starting mix that drains well. This prevents fungal issues and helps delicate roots spread.
Moisten the mix before filling trays; it should feel like a wrung-out sponge. Avoid adding fertilizers until the first true leaves appear.
A pH of 5.5–6.5 is ideal for most seedlings. You can even make your own mix with peat, perlite, and vermiculite.
Skipping the Hardening Off Step
Transitioning seedlings directly from indoors to the garden shocks them. One often overlooked seed starting mistake is skipping hardening off.
Gradual hardening off over a week builds resilience. Start by placing seedlings outside in shade for a few hours, then slowly increase sun exposure.
Protect them from strong wind and cold nights. This step is crucial for preventing transplant shock.
On warm days, extend outdoor time gradually, and bring them back indoors if frost threatens.
Planting Seeds Too Deep or Too Shallow
Seed depth affects germination rates. A common seed starting mistake is planting too deep or too shallow.
As a rule, bury seeds at a depth equal to twice their diameter. Tiny seeds like lettuce need light to germinate—just press them into the surface.
Check seed packets for specific instructions. A shallow planting can also dry out quickly, so cover trays with a humidity dome until sprouting.
For large seeds like beans, plant one inch deep. Always pre-moisten the mix to maintain even moisture during germination.
Failing to Label Seed Trays
It’s easy to forget what you planted where. Forgetting labels is a seed starting mistake that causes chaos later.
Use waterproof markers and labels with the seed variety and date. This saves confusion when different seeds germinate at different rates.
Keep a garden journal or spreadsheet for extra organization.
Popsicle sticks and permanent markers work well for labeling rows. Write legibly and replace labels if they fade.
This simple habit prevents mix-ups and helps you track success rates.
Starting Seeds Too Early or Too Late
Timing matters. Starting too early results in overgrown, root-bound seedlings before outdoor planting.
Starting too late risks missing the growing season. Calculate your last frost date and count backward using the seed packet’s recommended lead time.
Many vegetables need 6–8 weeks indoors. For a Gardening & Nature calendar tailored to your area, consult local extension services. Adjust for your microclimate to optimize germination.
Ignoring Temperature and Air Circulation
Consistent warmth is critical for germination. Most seeds prefer 65–75°F, but heat mats can help certain crops.
Air circulation prevents fungal diseases like damping off. Use a small fan on a low setting to move air gently.
Check temperature daily with a thermometer. Remove humidity domes after seeds sprout to allow airflow.
Following these steps avoids many common seed starting mistakes. By paying attention to these details, your seedlings will thrive.
By avoiding these seed starting mistakes, you’ll give your seedlings the best start possible. For more expert advice, see The Old Farmer’s Almanac seed starting guide and University of Minnesota Extension.

