
An engine misfire can be frustrating and costly if misdiagnosed. Proper engine misfire diagnosis is critical to avoid unnecessary part replacements and restore smooth performance. This systematic guide walks you through each step using common symptoms and tools.
Recognizing the Symptoms of a Misfire
A misfire often presents as a rough idle, hesitation during acceleration, or a blinking check engine light. You may also notice reduced power, poor fuel economy, or a fuel smell from the exhaust.
Distinguish between an intermittent misfire (comes and goes) and a constant one to narrow down the cause.
Step 1 – Read OBD-II Trouble Codes for Engine Misfire Diagnosis
Connect the scanner to the diagnostic port and retrieve codes. Codes starting with P0300 indicate a random misfire, while P0301 through P0304 point to a specific cylinder.
Note the freeze frame data to know the engine conditions when the misfire occurred.
Identifying the Specific Cylinder
If you have a cylinder-specific code, swap components like spark plugs or coils with another cylinder. If the misfire moves, the swapped part is faulty.
For random misfires, check common causes like vacuum leaks or fuel pressure.
Step 2 – Inspect Spark Plugs and Ignition Coils
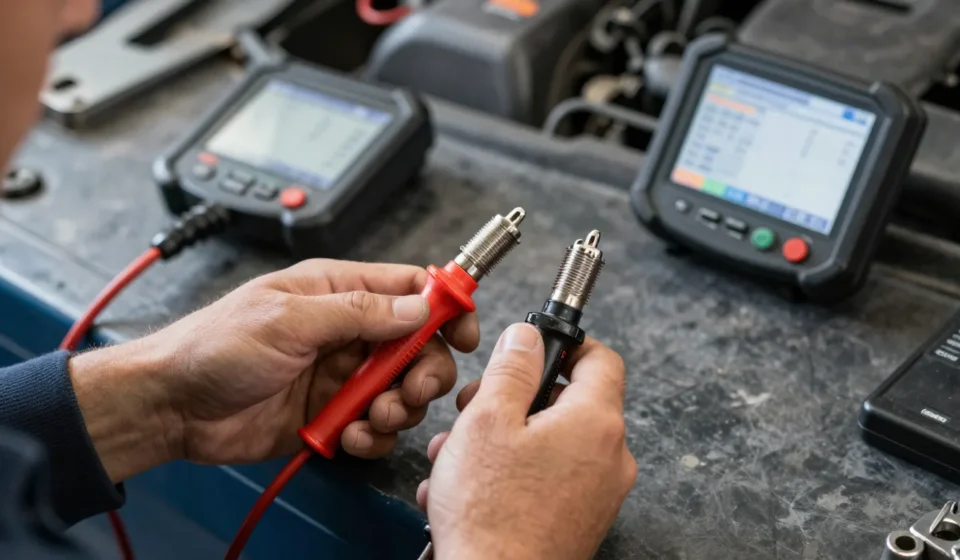
Remove the spark plugs and examine them. A fouled, oil-fouled, or worn electrode indicates a problem.
Check the gap with a feeler gauge and compare it to spec.
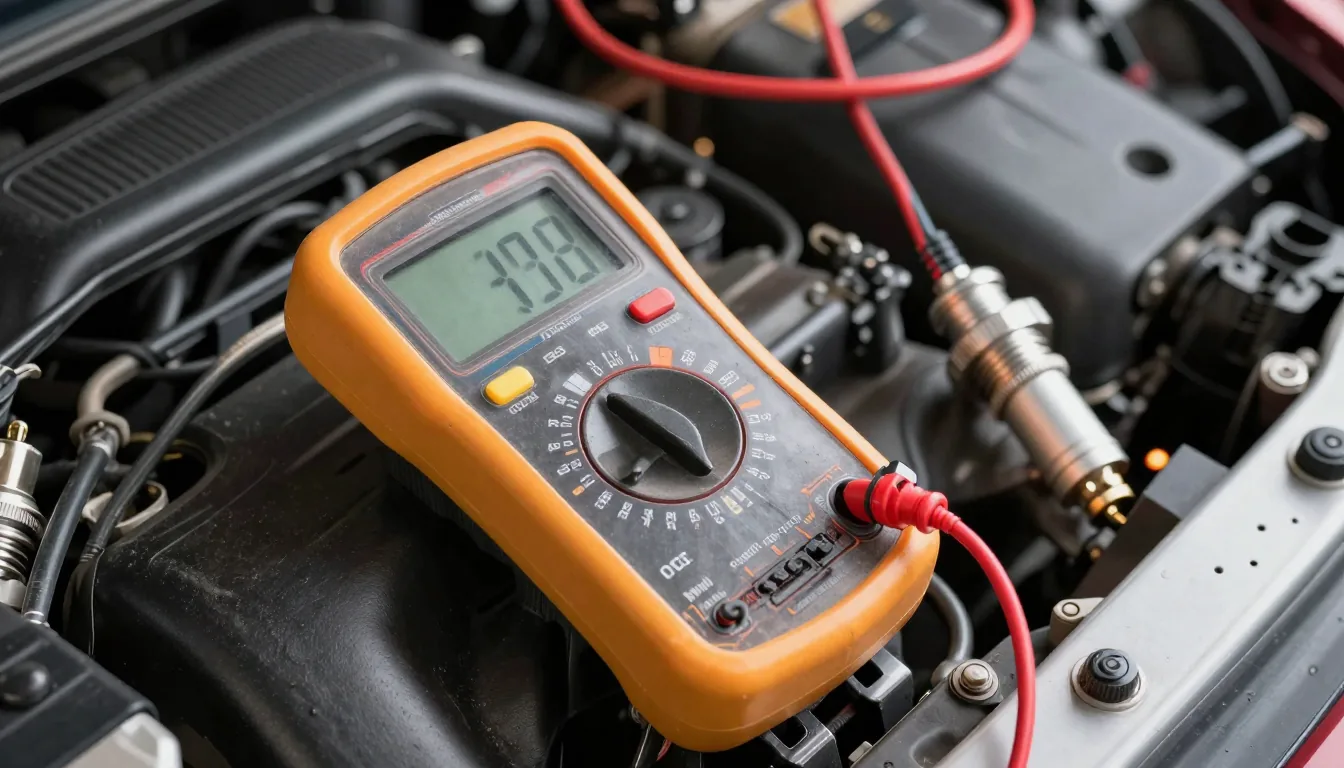
Test ignition coils with a multimeter: primary resistance should be low (0.3–1.0 ohms), secondary higher (5–15 kohms). Replace any out-of-spec parts.
A thorough engine misfire diagnosis includes these checks.
Visual Inspection of Wiring and Connectors
Look for corrosion, broken wires, or loose connections on the coil harness. A damaged wire can cause intermittent misfires.
Use a wiring diagram to verify continuity.
Step 3 – Check Fuel Delivery
Attach a fuel pressure gauge to the rail and turn the key on. Compare the pressure to your vehicle’s spec (typically 30–60 psi).
A fuel pressure regulator or pump failure can cause lean misfires. Test injectors with a noid light or listen for clicking with a stethoscope.
Clean or replace clogged injectors.
Step 4 – Test for Vacuum Leaks
A vacuum leak can lean out a cylinder and cause misfires. Use a smoke machine to introduce smoke into the intake system; smoke escaping reveals leaks.
Alternatively, spray carb cleaner near gaskets while the engine idles; if RPM changes, you found a leak. Common spots: intake manifold gaskets, PCV valve, vacuum hoses.
Step 5 – Evaluate Compression and Leakdown
Perform a compression test on all cylinders. Readings should be above 100 psi and within 15% of each other.
Low compression on one cylinder suggests valve or piston ring issues. Follow up with a leakdown test: apply compressed air to the cylinder and listen for escaping air from the intake, exhaust, or crankcase.
This engine misfire diagnosis step is crucial for internal engine issues.
Step 6 – Examine Exhaust System
A blocked catalytic converter can create backpressure that mimics a misfire. Test by measuring vacuum at idle; a steady drop after revving indicates restriction.
Feel for airflow at the tailpipe or use a temperature gun—the converter's inlet should be hotter than the outlet if it's working.
Step 7 – Review Sensor Inputs
Faulty sensors can trick the ECU into delivering the wrong fuel or spark timing. With a scan tool in live data mode, monitor the mass airflow (MAF) sensor, coolant temperature sensor, and oxygen sensors.
Abnormal values—like a MAF reading of 0 g/s at idle—can cause misfires.
Common Pitfalls and Pro Tips
Never replace parts without testing; always confirm the diagnosis. Use the correct fuel octane rating for your engine—low octane can induce knock-related misfires.
On direct injection engines, carbon buildup on intake valves is a frequent cause; consider walnut blasting if plugs and coils check out. Regular engine misfire diagnosis practice will sharpen your skills. This guide ensures you approach each symptom methodically.
Systematic Automotive & Mobility troubleshooting saves time and money. For more detailed guides, check resources like YourMechanic or NGK. Always consult your vehicle’s service manual for specific specs.