
Why Autocross Demands a Different Suspension Philosophy
A proper suspension tuning guide for autocross must account for its low-speed, high-frequency nature where transitional response and steady-state grip matter more than top-end stability. Unlike road racing, you rarely exceed second gear, and corners come every few seconds.
An Automotive & Mobility enthusiast knows that the right setup can shave seconds off your run. The goal is to minimize body roll, keep the tire contact patch flat, and rotate the car on entry without excessive understeer.
Spring Rates: The First Step in Your Suspension Tuning Guide
Spring rate is the first variable to address. Too soft, and the car leans excessively, reducing camber gain and allowing weight transfer that overwhelms the outside tire.
Too stiff, and the car skips over bumps, losing traction at the limit.
For most production-based autocross cars, a 30–50% increase over stock spring rate is a good starting point. For example, a 200 lb/in front and 180 lb/in rear is common for a 2800 lb car with a MacPherson strut front.
Stiffer springs allow lower ride height, which lowers the center of gravity, but avoid going so low that you hit the bump stops mid-corner.
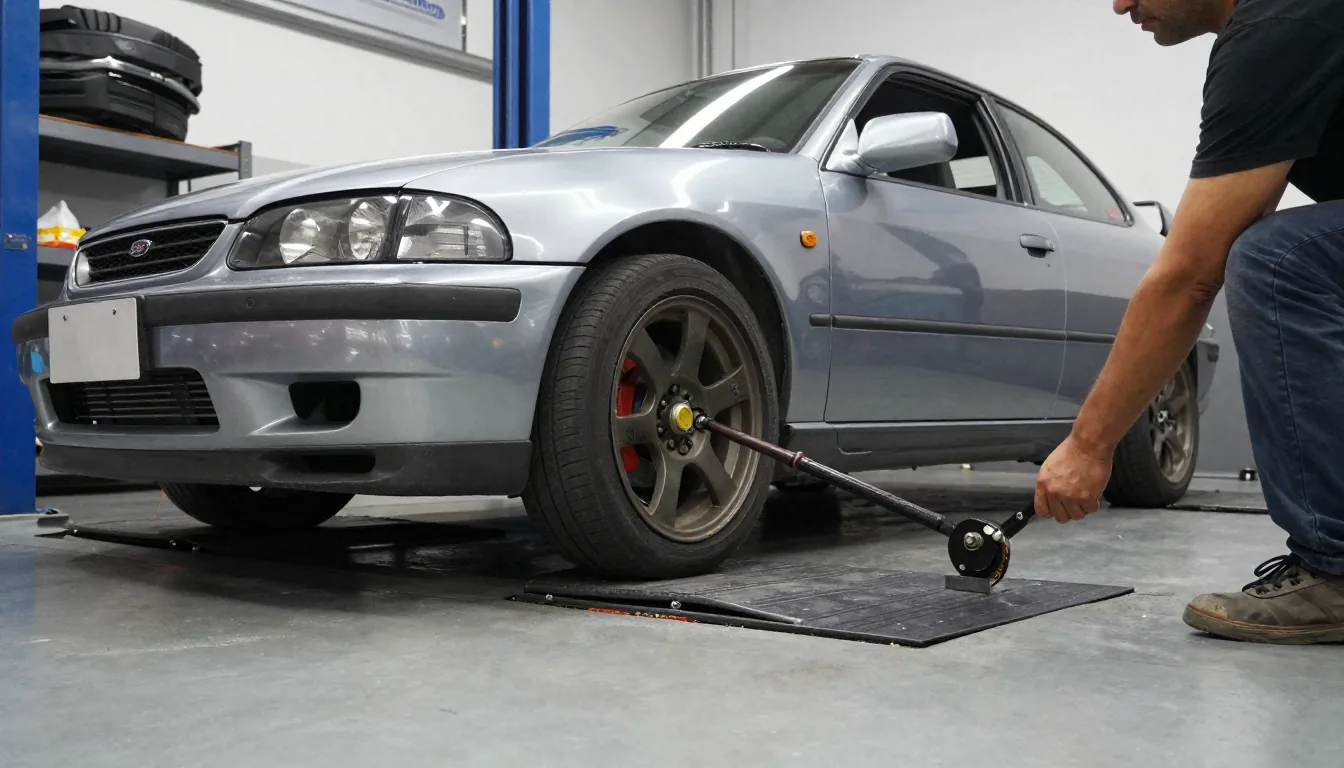
Spring rate selection must account for corner weights. Use a set of scales to measure each wheel's load.
Then pick springs that maintain a balanced cross-weight (wedge). A common error is to install mismatched rates that cause the car to push or snap oversteer unpredictably.
Always pair spring changes with a corner balance adjustment—this is the foundation of any proper suspension tuning guide.
Adjustable Spring Perches vs. Fixed
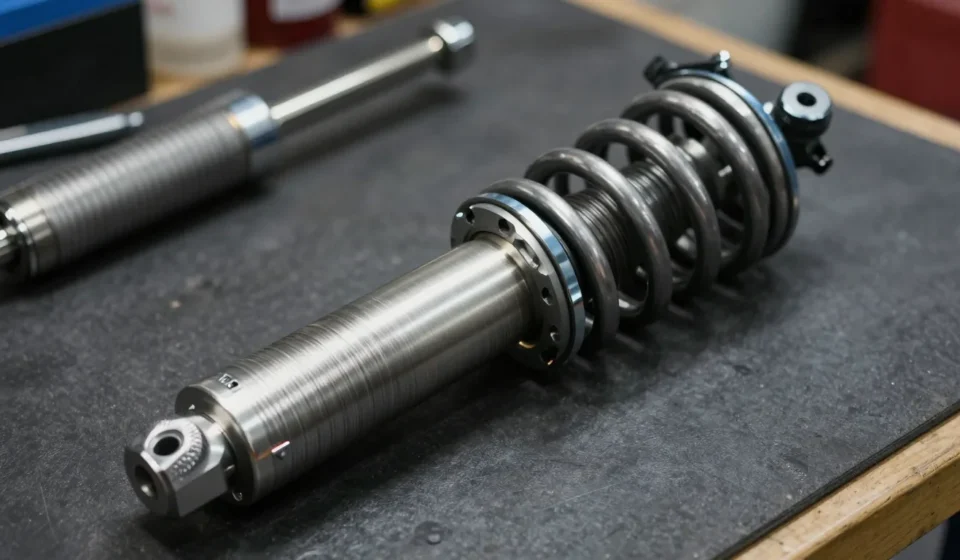
Threaded coilover sleeves give you the ability to adjust ride height independently of spring preload. Fixed-perch setups limit your fine-tuning.
For autocross, coilovers with adjustable perches are almost mandatory because they let you lower the car without binding the spring.
Set ride height so that the control arms are parallel to the ground at static load—this maximizes camber curve and roll center geometry.
Dampers: Controlling Spring Oscillation
Dampers (shocks) control the speed at which the spring compresses and rebounds. For autocross, you need high low-speed damping (below 3–4 in/s piston speed) to resist body roll, but enough high-speed damping (above 4 in/s) to absorb pavement irregularities.
A typical autocross damper has a digressive valving curve—stiff low-speed, softer high-speed. This is a critical component of any suspension tuning guide.
If your dampers are adjustable, start with rebound settings about 60% of the way from soft to full stiff. Then adjust bump (compression) to control how quickly the car settles into a turn.
Too much rebound and the suspension packs down—the car won't rise after a bump, causing loss of traction.
Too little rebound and the car porpoises, leading to inconsistent braking and corner entry.
Testing Damper Settings on the Course
Make one click changes at a time. If the car understeers on corner entry, increase front rebound or reduce front bump.
If it oversteers on exit, add rear rebound. Check tire temperatures—a hot inner edge indicates too much negative camber; hot outer edge means not enough.
Dampers cannot fix fundamental spring rate mistakes, so ensure your rates are correct first.
Sway Bars: Fine-Tuning Roll Resistance Balance
Sway bars (anti-roll bars) resist body roll by linking the left and right wheels. A stiffer front bar reduces roll but increases lateral load transfer to the front, promoting understeer.
A stiffer rear bar does the opposite, promoting oversteer. For autocross, a common strategy is to run a softer front bar and a stiffer rear bar to rotate the car—but this depends on your car's inherent balance.
This completes the mechanical side of your suspension tuning guide.
Start with the softest front bar and a medium rear bar. If the car plows (understeers), stiffen the rear or soften the front.
If it oversteers excessively, soften the rear or stiffen the front. Sway bar end links should be adjustable to prevent preload—if the bar is twisted at rest, it acts as a stiffer spring, upsetting balance.
Tires: The Ultimate Variable
No suspension tuning guide is complete without tire considerations. Autocross tires (like 200TW) have stiff sidewalls that can support more camber.
Maximize negative camber on the front to keep the tire flat during cornering—typically -2.5 to -3.5 degrees. Rear camber around -1.5 to -2 degrees.
Tire pressures should be lower than street: 32–35 psi hot for 200TW tires, checked immediately after a run. Use chalk on the tread to verify contact patch width—if the chalk wears off the shoulder, you need more camber or less pressure.
Alignment Settings: Caster, Camber, and Toe
Caster affects steering return and camber gain. Max out positive caster (5–7 degrees) for better straight-line stability and camber in turns.
Camber plates are essential to get the front camber you need. Toe: a small amount of toe-out (1/16 inch total) improves turn-in response, but too much makes the car darty.
Zero toe or slight toe-in at the rear for stability. These alignment adjustments are the final piece of your suspension tuning guide.
Align after every significant spring or ride height change. A precision alignment is a cheap performance upgrade.
Use a string alignment tool at home or a shop with a smartalign rack.
Testing and Iteration: The Only Way to Confirm
Take data: lap times, accelerometer logs, tire temps, and subjective feel. Change only one variable per test session.
For example, stiffen the rear bar by one hole and run three laps. Compare to baseline.
Keep a written log.
The internet is full of theory, but your car’s specific weight distribution, tire compound, and driver preference will dictate final settings. This suspension tuning guide provides a framework, but you must fill in the numbers yourself.
For more details on damper valving, check out Penske Racing Shocks tech articles. For spring rate calculations, Racecar Engineering offers useful calculators.