Build a Living Sponge: Your Guide to Rain Garden Construction for Stormwater Management

Understanding the Purpose of a Rain Garden
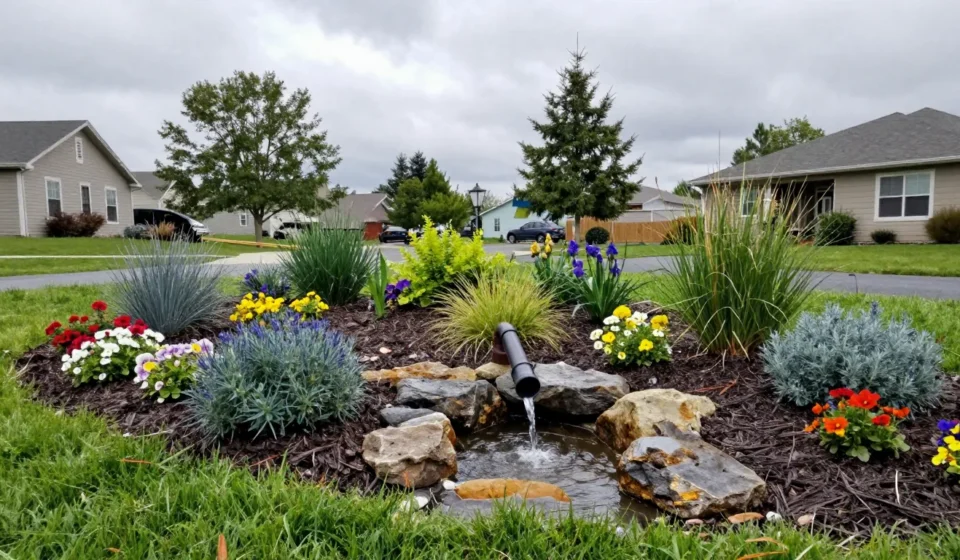
Rain garden construction involves creating a shallow depression planted with native species that collects runoff from roofs, driveways, and lawns. Its primary job is to filter pollutants and allow water to soak into the ground, easing pressure on storm drains and preventing erosion.
This sustainable practice mimics natural hydrology and turns a soggy problem into a beautiful asset.
Unlike a pond, a rain garden holds water only for 24 to 48 hours after a storm. The temporary pooling discourages mosquitoes and creates a vibrant habitat for birds and butterflies.
With careful planning, your rain garden construction will thrive for years.
Site Selection and Sizing for Rain Garden Construction
Place your garden at least 10 feet from building foundations to avoid seepage. Choose a spot where water naturally collects or direct a downspout toward it.
Avoid areas with heavy tree roots or underground utilities, as these complicate rain garden construction.
Size depends on the contributing drainage area and soil type. A common rule is to make the garden 10–20% of the impervious area draining into it.
For clay soils, plan a larger basin; sandy soils can be smaller to accommodate faster infiltration.
Testing Your Soil Infiltration Rate
Dig a hole 6 inches deep and fill with water. Time how long it takes to drain completely.
Ideally, the water should drop an inch per hour or faster. If drainage is slow, amend the soil with compost or sand before planting.
Designing the Basin and Inlet
Shape the garden as a gentle bowl with a flat bottom. The deepest part should be no more than 6–12 inches deep.
Create a level berm around the lower edge to hold water back. Proper rain garden construction includes shaping the basin correctly to prevent erosion.
Add a rock-lined inlet where water enters to slow flow and spread it evenly. A splash pad of river stones prevents erosion and catches sediment.
These details are critical in rain garden construction to avoid channeling and ensure even water distribution.
Selecting Native Plants for Resilience
Choose plants that tolerate both wet feet and dry spells. Native species are best because they root deep and survive local extremes.
Good choices include swamp milkweed, blue flag iris, and little bluestem grass. When selecting plants, consider their role in rain garden construction: they stabilize soil and absorb excess nutrients.
Arrange plants in zones: moisture-loving near the center, drought-tolerant on the edges. Aim for a mix of 60% grasses and sedges for structure, 40% flowering perennials for pollinators.
This biodiversity strengthens the garden over time and reduces maintenance needs.
Step-by-Step Construction Process
Mark the outline of your garden with spray paint. Remove the turf and dig to the desired depth, sloping the sides gently.
Use the excavated soil to build the berm on the downhill side. Careful planning is the foundation of successful rain garden construction.
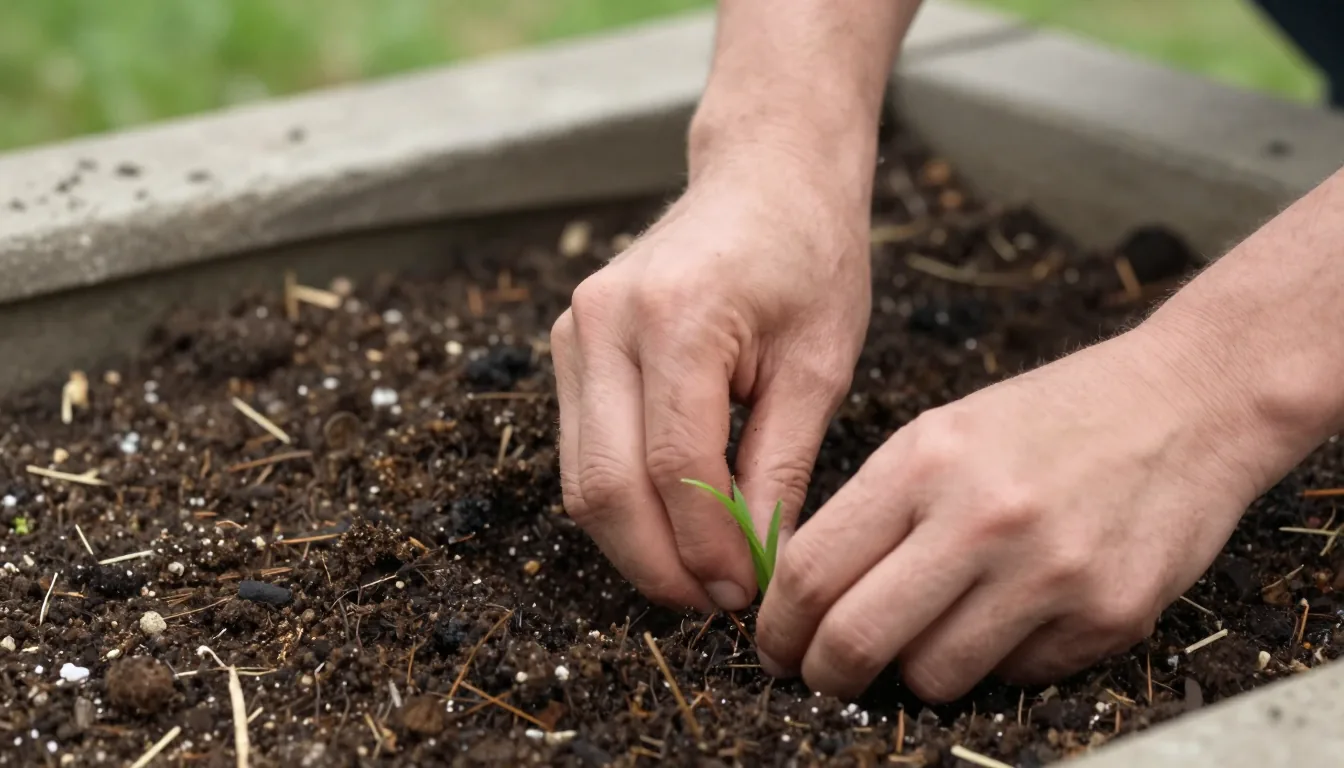
Spread a 2-inch layer of compost over the bottom and till it lightly. Then place your plants, starting from the center and working outward.
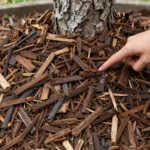
Water them well after planting and add a thin layer of mulch – avoid thick mulch that can float away. This attention to detail ensures your rain garden construction yields long-term success.
Managing Overflow
For heavy storms, include an overflow channel or a dry creek bed that directs excess water safely away. This prevents the garden from overtopping and damaging nearby areas.
Proper overflow management is a key aspect of rain garden construction that protects your investment.
Check your local regulations: some municipalities require permits for rain garden construction near property lines. Always call 811 before digging to locate buried lines.
Following these steps will ensure compliance and safety.
Maintenance Tips for a Thriving Rain Garden
In the first year, water during dry spells to help roots establish. Remove weeds regularly, especially aggressive invaders like crabgrass.
After each storm, inspect the inlet and outlet for debris. Consistent maintenance keeps your rain garden construction looking its best.
In spring, cut back dead stems and divide overgrown clumps. Replace any plants that didn’t survive.
Over time, the garden will become self-sustaining and require less care, proving that thoughtful rain garden construction pays off.
For more ideas on sustainable landscaping, visit our Gardening & Nature section. External resources: EPA Rain Garden Guide and Penn State Extension.