
How to Photograph the Milky Way with a Smartphone
Have you ever looked up at a starry sky and wished you could capture that magic with your phone? You absolutely can. To photograph the Milky Way with a smartphone, you just need the right technique and a little patience.
Modern phone cameras have become incredibly capable. With a few pro tricks, you’ll be amazed at the galactic portraits you can create.
Essential Gear for Stellar Shots
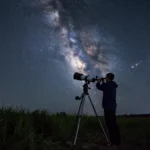
You don’t need expensive telescopes, but a few basics make a huge difference. A sturdy tripod is your number one friend—it keeps your phone steady for long exposures.
A remote shutter (or a timer delay) prevents camera shake. If you have clip‑on lenses, a wide‑angle lens captures more of the sky.
A portable power bank ensures your phone doesn’t die during a long shoot.
Also use a headlamp with a red light mode. This preserves your night vision while setting up.
Location and Timing: The Darker, the Better
Find a location far from city lights. Use apps like Clear Dark Sky or Dark Site Finder to spot low light pollution.
Check the moon phase—a new moon or crescent gives the darkest sky. Also, the Milky Way is seasonal; it’s best visible from late spring to early fall in the Northern Hemisphere.
Plan your shoot during a moonless night for optimal results.
Finding a dark location is the first step when you photograph the Milky Way with a smartphone.
Camera Settings That Make the Galaxy Pop
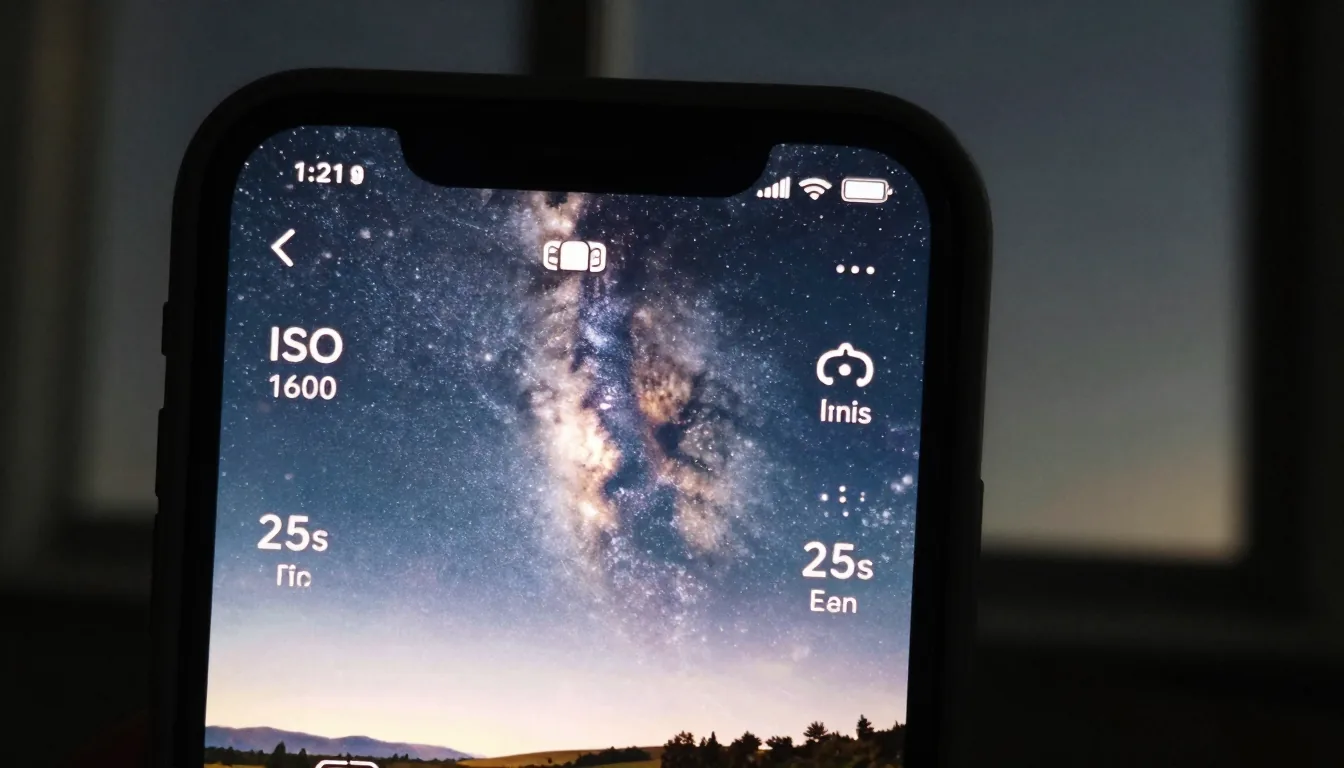
On your smartphone, switch to Pro or Manual mode. Set ISO between 800 and 1600—higher gathers more light but adds noise.
Shutter speed should be 20–30 seconds max; longer than 30 seconds can cause star trails.
Focus manually on a bright star by tapping and locking focus. Use a white balance around 4000K to reduce orange tint.
For the best results, shoot in RAW format if your phone supports it, as it captures more data for editing.
Experiment with exposure time; sometimes 25 seconds gives the sharpest stars. The key is to balance gathering light and avoiding trailing.
Mastering the camera settings is crucial when you photograph the Milky Way with a smartphone.
Composition: The Art of the Cosmos
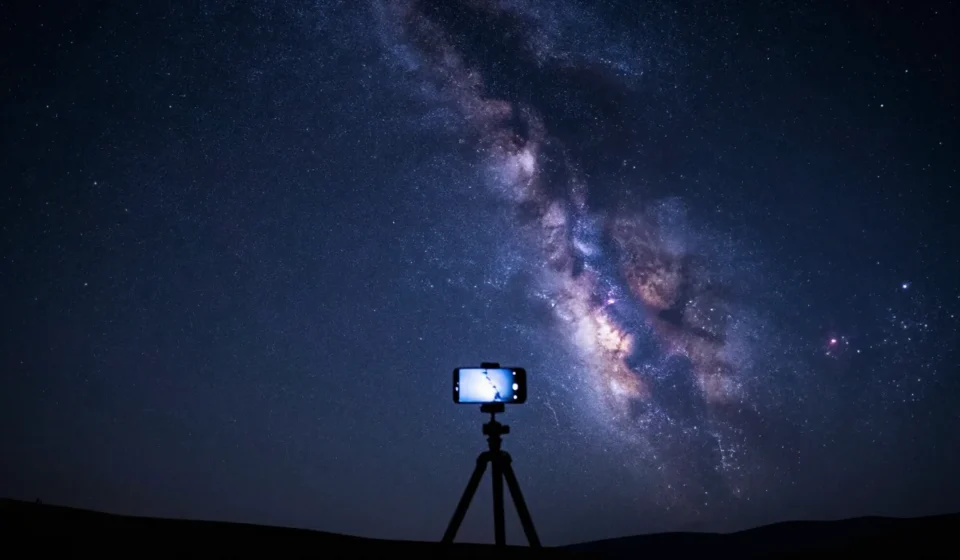
Include a silhouette of a tree, mountain, or person to give scale to the immense Milky Way. Use the rule of thirds: place the galactic core off‑center for a dynamic frame.
Take multiple frames to stack later for even better results. This technique reduces noise and reveals more detail in the dust lanes of our galaxy.
Also look for leading lines in the landscape that draw the eye toward the sky. A winding path or fence can enhance composition.
Post‑Process Like a Pro
Use apps like Adobe Lightroom Mobile or Snapseed. Increase contrast, reduce noise, and boost clarity selectively. Adjust highlights and shadows to bring out the dust lanes.
Stacking images with software like DeepSkyStacker (free) or Sequator can dramatically reduce noise and reveal fainter details. This step is crucial for a polished final image.
Try using curves adjustment to fine‑tune the tonal range. This can make the stars pop against the dark sky.
Post-processing helps you refine the image after you photograph the Milky Way with a smartphone.
Pro Tips for Milky Way Photography
Use a star tracker app to find the exact position of the galactic core. This helps you compose your shot perfectly.
Also, experiment with different angles—shoot from a low vantage point to include foreground elements.
Practice patience; the best shots often require multiple attempts. With each try, you learn to photograph the Milky Way with a smartphone more effectively.
For more space photography insights, check out our Popular Science & Space archive.
With these steps, you’re ready to transform your smartphone into a window to the universe. Go out, look up, and capture the Milky Way!