
Your car’s serpentine belt drives the alternator, power steering pump, air conditioning compressor, and water pump, and when it fails, you lose critical systems instantly. Knowing how to perform a serpentine belt replacement can save you hundreds of dollars and prevent a roadside breakdown. This guide covers routing diagrams, tensioner release methods, and the telltale signs of a worn belt.
Serpentine Belt Replacement: Tools and Safety
Before you start, gather the correct tools: a serpentine belt tool (or breaker bar with the correct socket), a flathead screwdriver for prying, and a new belt that matches your car’s specifications. Always disconnect the negative battery terminal to avoid accidental electrical shorts while working near the alternator.
Safety is paramount. Work on a level surface, chock the wheels, and let the engine cool completely.
The tensioner spring is under high load; never use your fingers to release it—use a proper tool.
Wear gloves to protect against cuts from worn belt edges. This preparation is key for a safe serpentine belt replacement.
Routing Diagram and Tensioner Details
Obtain a routing diagram for your specific vehicle. Most diagrams share a common pattern: the belt wraps around each pulley with the grooved side riding on smooth pulleys and the smooth side on grooved pulleys.
Snap a photo with your phone before removal to avoid confusion later.
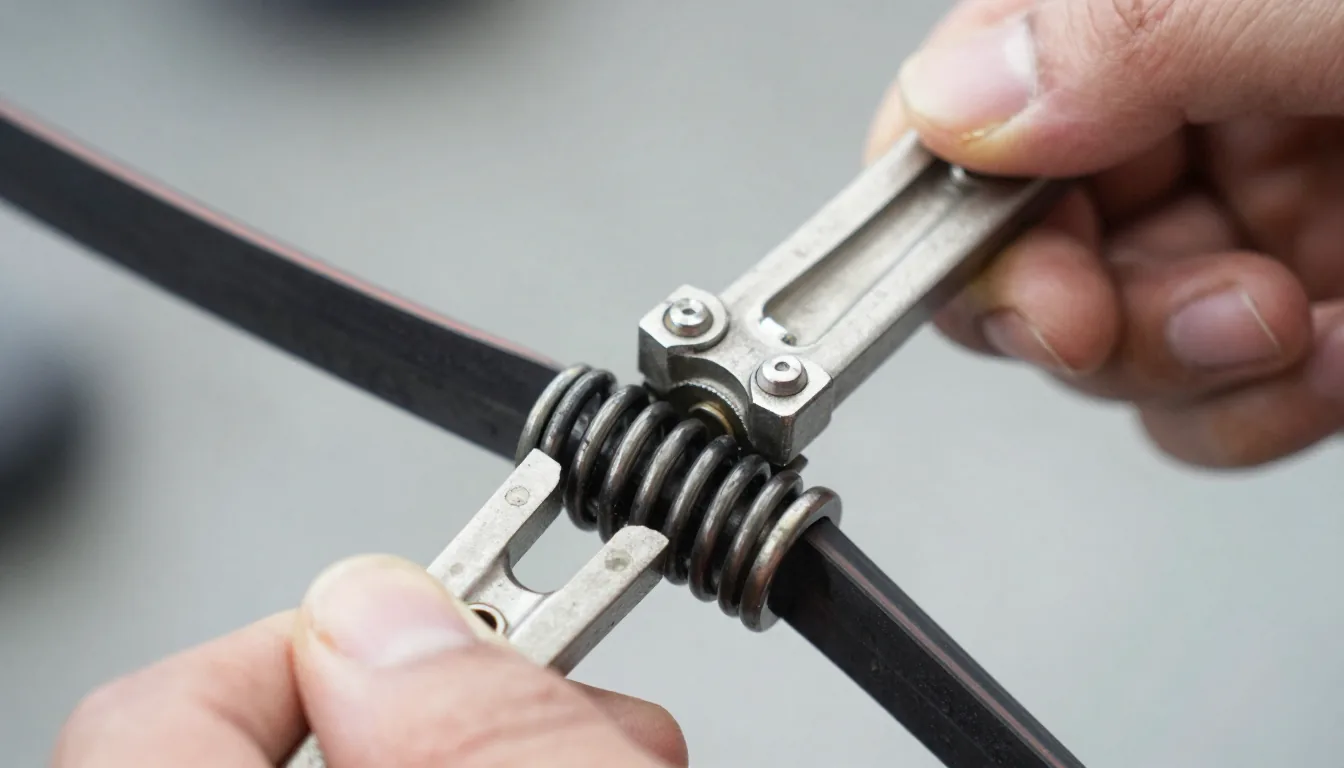
The tensioner is a spring-loaded idler pulley. Locate it by following the belt path; it often has a 14mm or 15mm bolt head.
Rotate the tensioner counterclockwise with your tool to slacken the belt.
Slide the belt off the largest pulley (usually the crankshaft) and then off the others. Slowly release tensioner pressure.
A common mistake during serpentine belt replacement is forcing the belt off without full slack.
Inspecting the Belt for Wear and Tensioner Function
Examine the old belt for cracks, glazing, or frayed edges. Cracks across the ribs indicate age hardening.
A shiny, glazed surface means the belt is slipping—sometimes due to a weak tensioner.
Check the tensioner for smooth rotation and listen for bearing noise when spun. A seized or wobbly tensioner must be replaced.
Warning signs of belt issues include chirping noises on startup, accessories fading intermittently, or visible rubber dust on pulleys.
Replace the belt every 60,000 miles or per manufacturer schedule, even if it looks fine. Rubber degrades over time.
A proactive serpentine belt replacement avoids unexpected failures.
Installing the New Serpentine Belt
Route the new belt exactly as the diagram shows. Start with the belt on the crankshaft pulley, then work around the other pulleys.
Leave the tensioner pulley for last.
Rotate the tensioner to create slack, slide the belt over the tensioner pulley, and slowly release tension. Ensure the belt seats fully in each pulley groove.
For a successful serpentine belt replacement, double-check routing matches the original.
Double-check all pulleys are aligned. Manually rotate the engine’s crankshaft bolt clockwise (using a socket on the center bolt) a full turn to verify the belt doesn't walk off.
Recheck belt tension: it should deflect about 1/2 inch under moderate thumb pressure between pulleys.
Final Checks and Test Drive
Reconnect the battery, start the engine, and listen for squeaks. Let the engine idle for a few minutes, then rev gently.
Check that all accessories work: alternator charging, power steering assist, AC clutch engagement.
If the belt slips, recheck routing and tension. After a short test drive, reinspect the belt for proper tracking.
If the belt edges wear unevenly, the tensioner or pulley alignment is off.
For more automotive maintenance guides, visit our Automotive & Mobility category. For additional belt routing diagrams, check Gates’s routing database. Detailed illustrations are also available on YourMechanic.