
Why You Can Remove Malware Free Without Spending Money
If you suspect your computer is infected, the good news is you can remove malware free without expensive software. Most consumer-grade malware is designed to be stealthy, not invincible. Tools like Malwarebytes and Windows Defender are often more than enough for typical infections.
That said, not all free tools are trustworthy. Some so-called "antivirus" programs are themselves adware.
Stick with reputable names to avoid making things worse.
Step 1: Disconnect and Enter Safe Mode
Before scanning, cut the internet connection. Malware often communicates with remote servers to download additional payloads or exfiltrate data.
Unplug Ethernet or disable Wi-Fi.
Next, boot into Safe Mode with Networking. On Windows 10/11, hold Shift while clicking Restart, then navigate to Troubleshoot > Advanced Options > Startup Settings > Restart.
Press F5 to select Safe Mode with Networking, which loads only essential drivers and makes it harder for malware to hide.
Step 2: Run Windows Defender Offline Scan
Windows Defender (now called Microsoft Defender) includes an offline scan that runs before Windows boots. This catches persistent rootkits and boot-sector viruses that normal scans miss.
Open Windows Security, click Virus & threat protection, then Scan options. Select Microsoft Defender Offline Scan and click Scan now.
Your PC will restart and perform the scan—this can take 30 to 60 minutes. Let it finish.
Step 3: Install and Scan with Malwarebytes Free
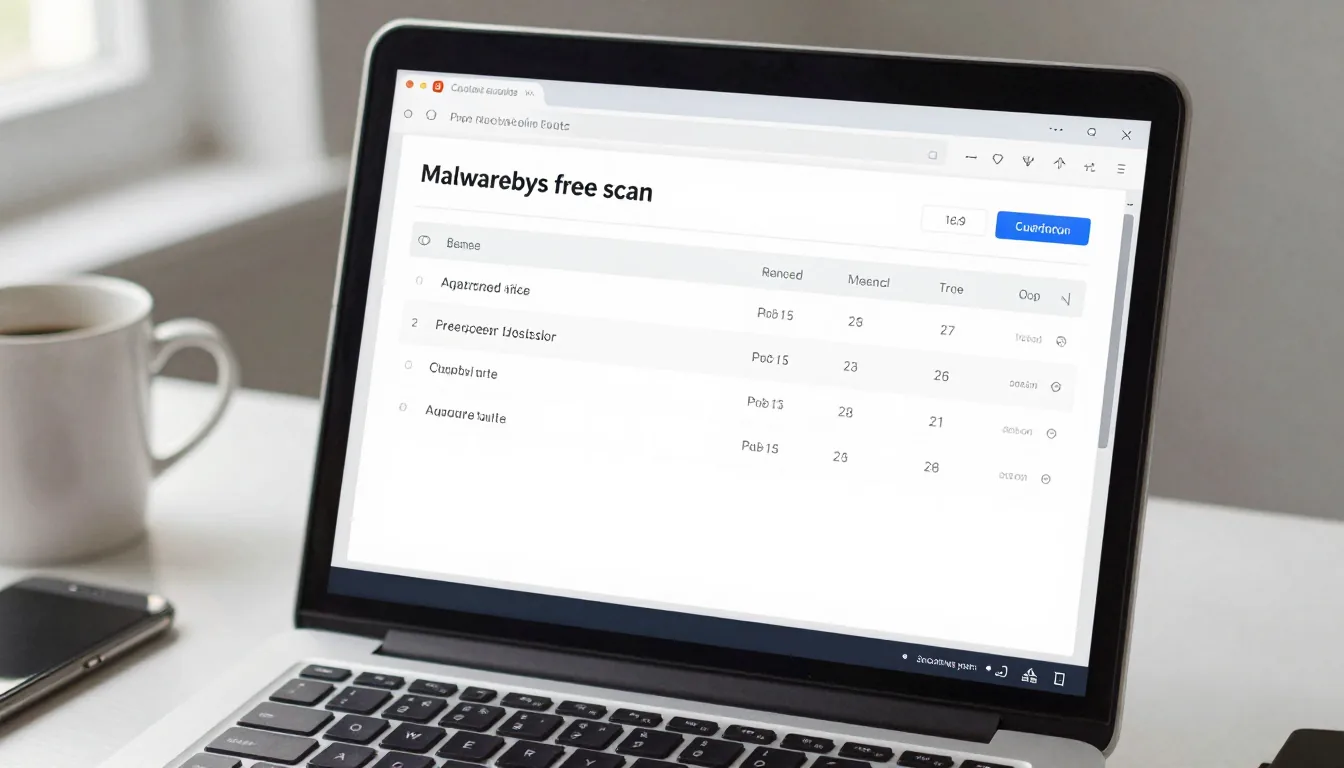
Download Malwarebytes Free from the official site. During installation, uncheck the 14-day trial for the premium version; the free version is a scanner only, which is all you need. Malwarebytes is a trusted tool to remove malware free; it’s effective and regularly updated.
Update the malware definitions, then run a Threat Scan. Malwarebytes excels at detecting PUPs (potentially unwanted programs), adware, and trojans that other antivirus engines miss.
After the scan, quarantine any detected items.
Step 4: Check Browser Extensions and Startup Programs
Many infections persist through browser extensions that redirect searches or display pop-ups. Review your browser's extension list and remove anything unfamiliar.
In Chrome, go to chrome://extensions; in Edge, edge://extensions.
This manual check is crucial to fully remove malware free as some infections rely on persistence.
Also check Task Manager Startup tab. Right-click the Start button and select Task Manager, then navigate to Startup.
Disable anything suspicious—especially items with blank publishers or strange names.
Reboot normally.
Step 5: Use AdwCleaner for Adware and Hijackers
AdwCleaner is another free tool from Malwarebytes that specializes in adware, browser hijackers, and toolbars. Download and run it. It will scan for PUP traces in registry, scheduled tasks, and browser settings.
Using AdwCleaner alongside other tools ensures you truly remove malware free from all corners of your system.
Click Clean and Repair. Be cautious: it may also flag some legitimate tools (like anyconnect or remote access software).
Review the results before removing.
A reboot is typically required afterward.
Step 6: Reset Browsers or Use BrowserCleaner
Even after removal, residual settings may cause pop-ups or redirections. Most browsers have a Reset option that restores defaults while keeping bookmarks and passwords.
In Chrome, go to Settings > Reset settings > Restore settings to their original defaults.
Alternatively, use a dedicated tool like BleedingComputer’s BrowserCleaner. It resets proxy settings, homepage, and search engine in one click. This is often faster than manual resets.
Step 7: Verify Removal and Prevent Future Infections
After cleaning, run a second scan with both Windows Defender and Malwarebytes to confirm your computer is clean. Disk cleanup via Settings > System > Storage > Temporary files can also remove leftover malware payloads.
By following these steps, you can effectively remove malware free and keep your PC safe.
To prevent reinfection, enable Windows Defender's real-time protection, avoid downloading pirated software, and be wary of email attachments. Consider using a script-blocker extension like uBlock Origin or NoScript for extra safety.
For ongoing protection, consider setting a monthly reminder to run a scan.
This habit helps you remove malware free before it causes major damage.
For more tips on keeping your system secure, browse our Tech & Gadgets section.