
Why Build Your Own Floating Shelves?
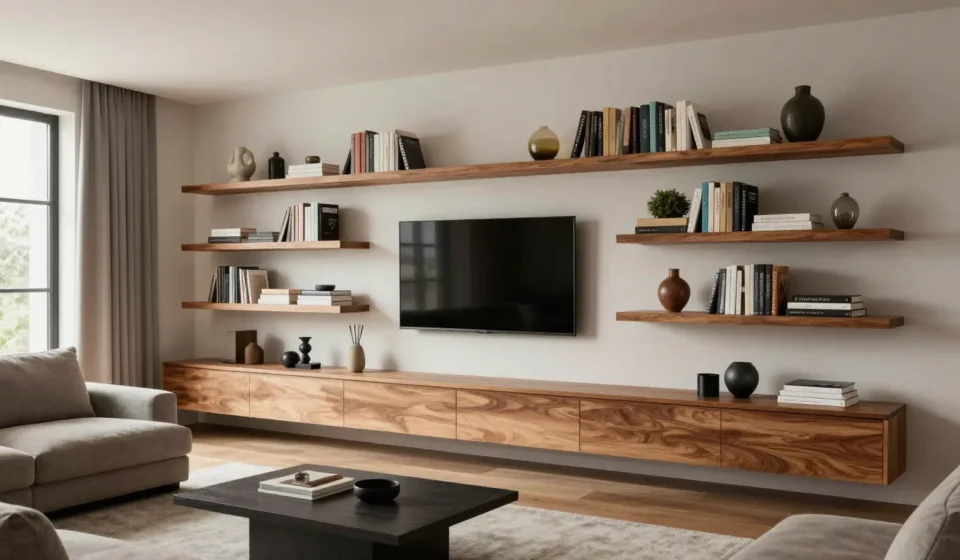
Floating shelves are a stylish and functional addition to any room, offering storage without bulky brackets. By tackling this floating shelves diy project, you can customize the size, finish, and placement to perfectly match your decor.
Plus, building them yourself saves money and gives you a sense of accomplishment.
Whether you're displaying books, plants, or collectibles, these shelves create a clean, modern look. In this guide, I'll walk you through every step—from selecting materials to mounting with confidence.
Let's transform your wall space!
Essential Tools and Materials for Floating Shelves
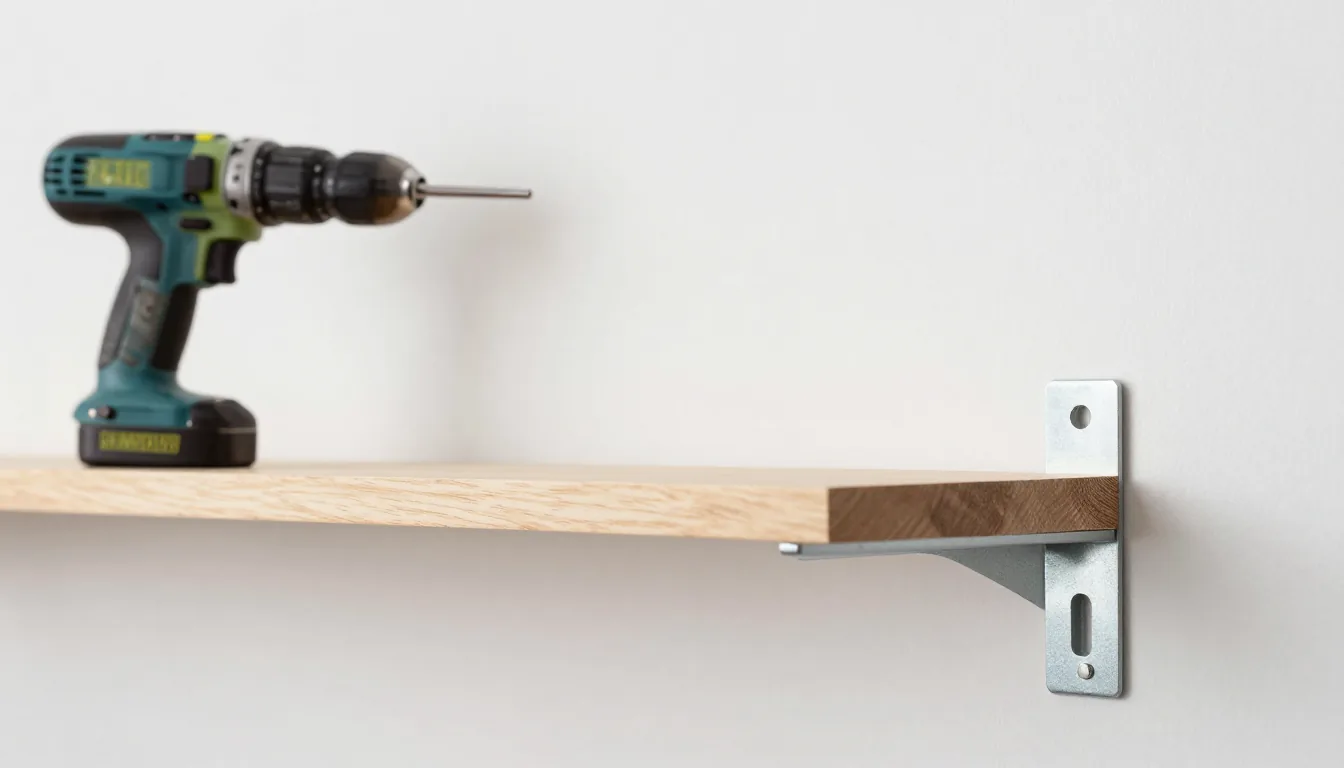
Before you start, gather the right supplies. For a standard 24-inch shelf, you'll need: one 2×4 board, one 1×6 or 1×8 board, wood screws, a stud finder, level, drill, measuring tape, and sandpaper.
Optional but helpful: a miter saw for clean cuts and wood stain or paint for finishing.
Choose solid wood like pine or oak for durability; avoid particle board as it won’t hold weight. Also pick a finish that complements your room, and for a pro look, pre-stain the wood before assembly.
Floating Shelves DIY: Step-by-Step Instructions
Step 1: Measure and Cut the Wood
First, decide the length and depth of your shelf—accuracy is key for this floating shelves diy project. Cut the 2×4 to the desired length for the cleat that attaches to the wall.
For the shelf face, cut the 1x board to the same length plus 1 inch extra on each side for a seamless look, then sand all edges smooth.
If you want rounded corners, use a router or sandpaper. Remember: measure twice, cut once!
Step 2: Build the Shelf Frame
Assemble the cleat and face board so the cleat is flush with the back edge; use wood glue and screws to attach them securely. Follow standard floating shelves diy assembly techniques for best results.
The result is an L-shaped bracket that will hide behind the shelf.
For larger shelves, add support blocks inside. Let the glue dry completely before proceeding.
Step 3: Attach the Mounting Brackets
Locate wall studs with a stud finder, mark their positions, and align the cleat so screws hit studs. Pre-drill holes and attach the cleat to the wall using 3-inch screws, then check with a level and adjust if necessary.
This floating shelves diy tip ensures the shelf is sturdy and level.
If studs aren’t available, use heavy-duty drywall anchors. For extra strength, screw into studs whenever possible.
Step 4: Install the Shelves
Slide the shelf face over the cleat from the front; it should fit snugly. Secure it by driving screws up through the cleat into the shelf from below to keep them hidden, or alternatively use pocket holes on the underside.
This final step completes your floating shelves diy project.
Fill screw holes with wood filler, then sand and touch up paint or stain. Let dry before loading.
Pro Tips for a Flawless Finish
For a truly floating look, cut the shelf face slightly longer than the cleat so it wraps around the ends; these floating shelves diy pro tips will elevate your project. Use a French cleat system for even more weight capacity, and always prime and paint or seal the wood to prevent warping.
Need more inspiration? Check out other Home Decor & DIY projects for complementary ideas. For professional-grade materials, visit Lowes or Home Depot.
Common Mistakes to Avoid for Floating Shelves
One common mistake is skipping the stud finder—shelves mounted only on drywall can sag. Always use a level to avoid crooked shelves, which ruin the floating illusion.
Another error is using thin wood that warps over time; choose solid lumber for durability.
Don't forget to account for the cleat thickness when cutting the shelf face. If the face is too short, it won't cover the bracket completely.
Follow this floating shelves diy guide to avoid these pitfalls and achieve professional results.
With patience and precision, you'll have beautiful floating shelves that look custom-made. This floating shelves diy tutorial gives you the confidence to create stunning shelves.
Enjoy your handiwork!