
Understanding Wi-Fi Channels and Interference
Why Channel Selection Matters
Router channel optimization is crucial for faster Wi-Fi. Your Wi-Fi router broadcasts on specific channels within the 2.4 GHz and 5 GHz bands.
By default, many routers auto-select a channel, often picking a congested one shared by neighbors, leading to co-channel interference and slower speeds.
Manually setting your channel to a less crowded one can dramatically improve throughput. Using a dedicated scanning tool like NetSpot or Wi-Fi Analyzer helps you identify the least congested channel, which is a critical step in router channel optimization.
This single change can reduce latency and boost real-world speeds by 20–40% in dense environments.
Wi-Fi channels overlap—especially in the 2.4 GHz band where only three non-overlapping channels (1, 6, 11) exist. If your neighbors use different channels within the same band, interference multiplies.
A simple channel change can reduce latency and boost real-world speeds.
Scanning for Interference: Tools and Methods
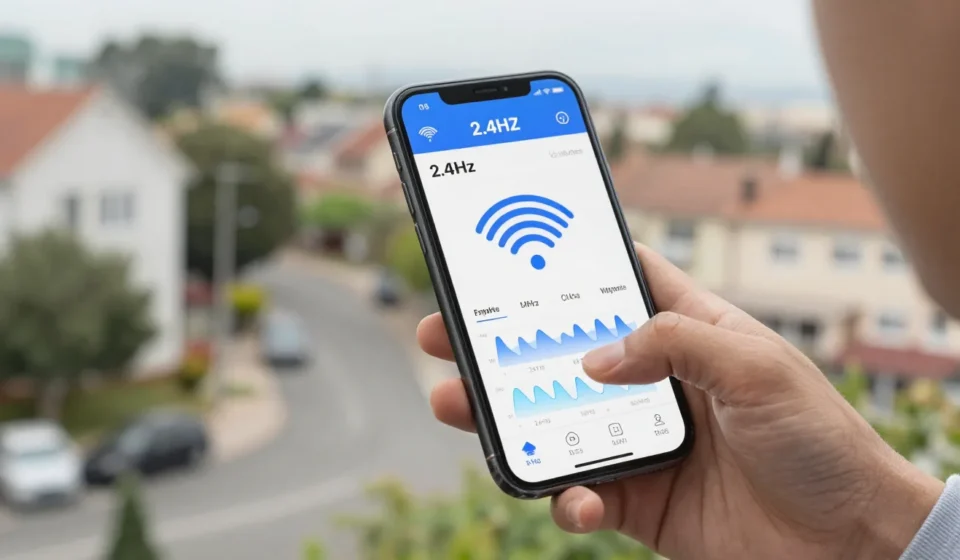
Before changing channels, you need to see what's around you. Free tools like Wi-Fi Analyzer (Android) or Wireshark (desktop) can visualize channel utilization.
On macOS, the built-in Wireless Diagnostics tool shows signal strength and interference. For Windows, NirSoft's WifiInfoView is a reliable choice.
Look for the least crowded channel with the fewest overlapping networks. In 2.4 GHz, aim for channel 1, 6, or 11 with the lowest number of neighbors.
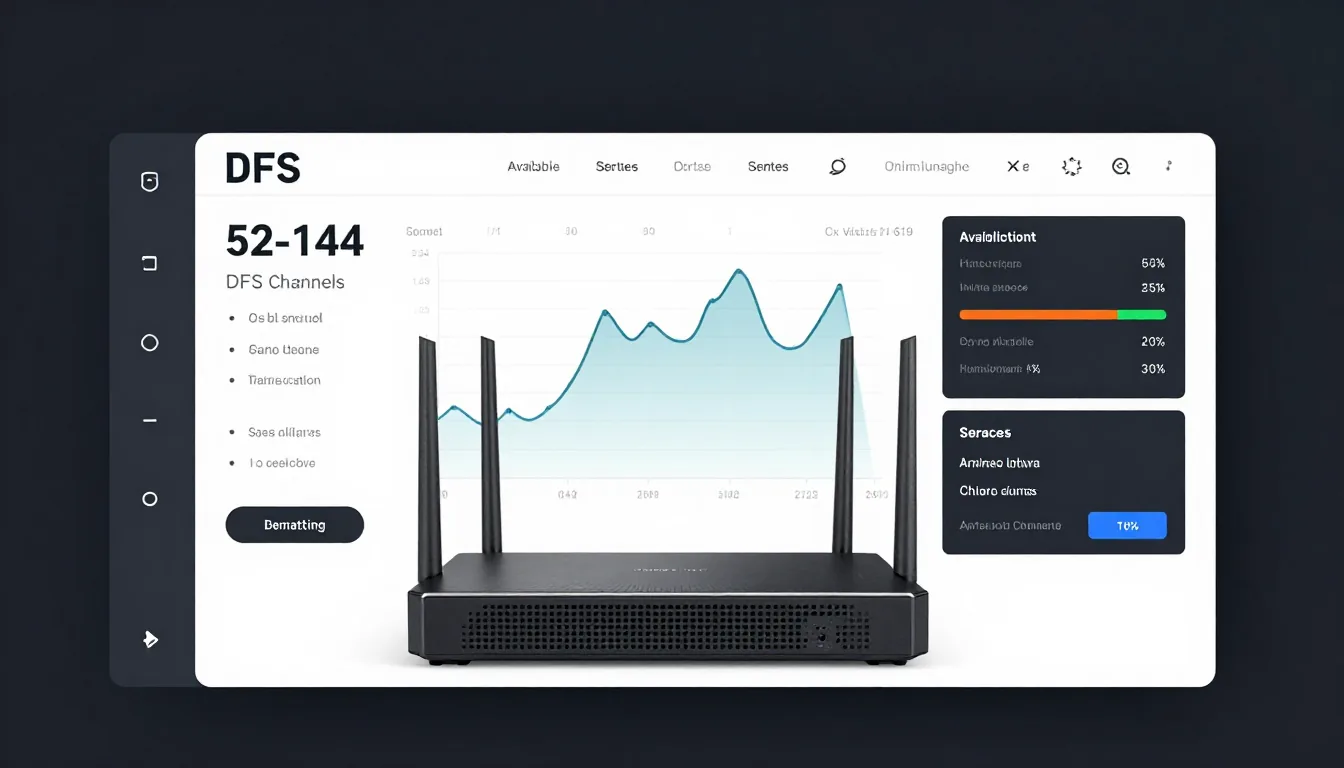
In 5 GHz, non-DFS channels (36–48) tend to be crowded, while DFS channels (52–144) often have less traffic but require radar detection support. A thorough router channel optimization scan should be performed weekly as interference patterns change.
How to Leverage DFS Bands for Less Congestion
DFS (Dynamic Frequency Selection) channels in the 5 GHz band were originally reserved for radar systems. Modern routers can use them, but must vacate if radar is detected.
This makes DFS channels less popular, meaning lower interference. A router channel optimization strategy that includes DFS can give you a cleaner spectrum.
Check your router's admin panel—if it supports DFS, enable the option to automatically select DFS channels. Note that some clients (older devices) may not see DFS channels, so test compatibility.
The trade-off is rare radar-triggered channel switches, but for most homes, the speed gain outweighs the occasional brief disruption.
Step-by-Step Router Channel Optimization
Performing router channel optimization involves changing your channel settings manually. First, log into your router's web interface (typically 192.168.1.1 or 192.168.0.1).
Locate wireless settings—look for 'Channel' or 'Channel Selection'. Disable 'Auto' and pick a channel based on your scan.
For 2.4 GHz, choose 1, 6, or 11. For 5 GHz, prefer DFS channels like 100–140 if available.
If your router supports channel bandwidth adjustment, set 2.4 GHz to 20 MHz to avoid overlap and 5 GHz to 40-80 MHz for higher throughput, but test both settings. Save settings and reboot the router.
Then run a speed test before and after. Tools like Speedtest.net or iPerf3 can quantify improvement.
Repeat scans weekly, especially if neighbors change setups.
Final Recommendations for Consistent Speeds
Router channel optimization is not a one-time fix—it's an ongoing practice. Interference patterns shift as devices and networks appear.
Pair channel tweaks with firmware updates and proper router placement (central, elevated, away from metal objects).
Consider upgrading to a tri-band router if you have many devices. And don’t forget the 6 GHz band (Wi-Fi 6E/7) if your hardware supports it—it’s still relatively empty. For more guidance on wireless performance, explore other articles in our Tech & Gadgets category.
External resources: For a deeper dive on Wi-Fi channels, see How-To Geek’s guide. For DFS band details, check the FCC’s DFS overview. For practical scanning, refer to SmallNetBuilder’s channel analysis.