
Understanding Alternator Failure Modes
Alternator failure diagnosis starts with knowing what breaks. The alternator converts mechanical energy into electrical power for your car.
Failures stem from three sources: worn brushes, failed diodes, or bearing breakdown.
Brush wear causes intermittent charging, while diode failure leads to AC ripple that damages batteries. Bearing noise often signals imminent seizure.
Belt tension is another common culprit. A loose belt slips under load, reducing output; an overtightened belt destroys bearings.
Age also takes its toll—most alternators last 80,000–150,000 miles under normal conditions.
Understanding these failure modes is key to accurate alternator failure diagnosis.
Alternator Failure Diagnosis: Voltage Drop Tests
Start with a multimeter set to DC volts. Connect the red lead to the battery positive terminal and black to ground.
A fully charged battery reads 12.6V.
Start the engine—charging voltage should be 13.8–14.8V. Below 13.5V indicates undercharging; above 15V means overcharging (likely regulator failure).
Perform a voltage drop test on the charging circuit. Connect the multimeter from the alternator output stud to the battery positive while the engine runs at 2000 RPM.
Drop should be under 0.5V.
Repeat from the alternator case to the battery negative—drop must be under 0.2V. Higher values indicate corroded connections or bad ground.
Bearing Noise and Belt Tension Checks
Listen for a grinding or squealing noise near the alternator. Use a mechanic's stethoscope to pinpoint bearing rumble.
A growling sound at idle that fades with RPM suggests worn bearings.
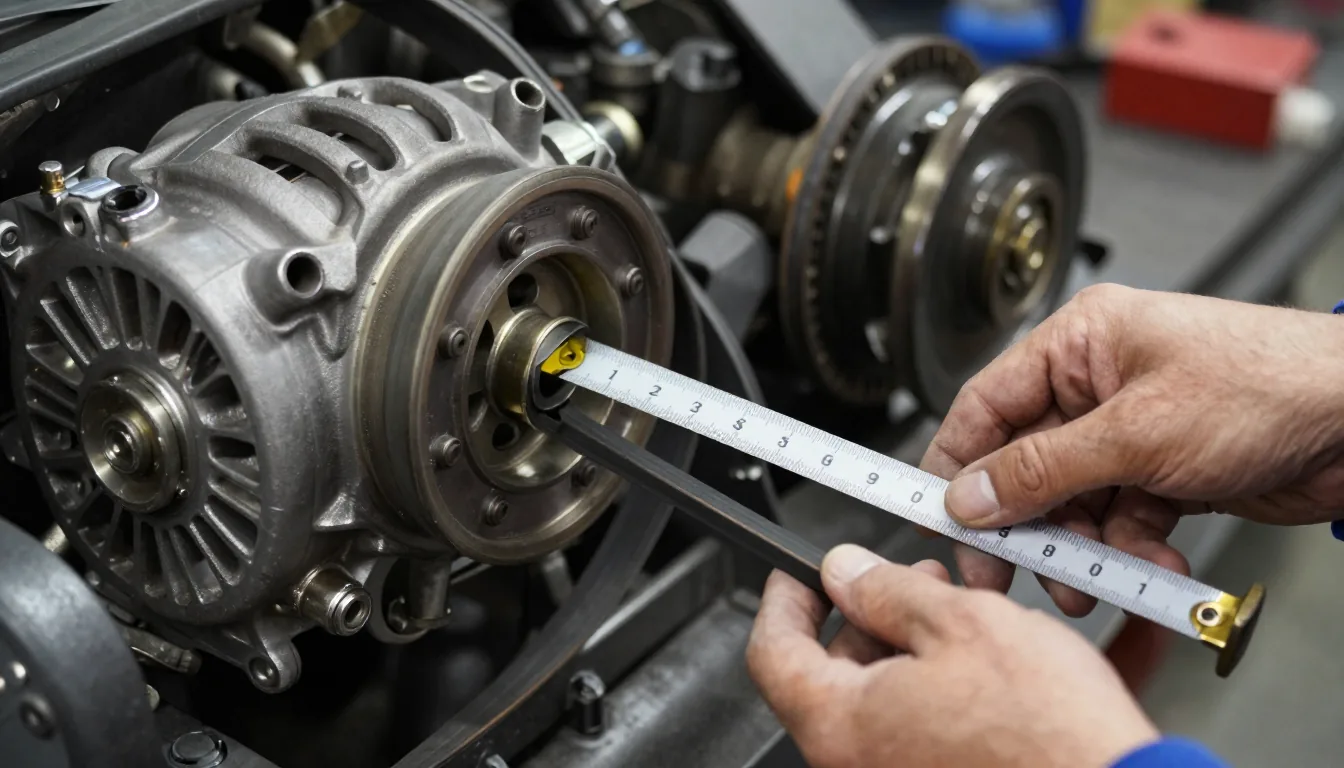
Check belt tension by pressing halfway between pulleys—deflection of ½ inch per foot of span is ideal. Replace if glazed or cracked.
For serpentine belts, use a tension gauge. A loose belt may still spin the alternator but under high electrical load it slips, causing dimming lights and low voltage.
This noise check is a simple part of alternator failure diagnosis.
Testing the Alternator Output Under Load
Turn on all electrical loads (high beams, blower motor, wipers, rear defroster). Measure battery voltage again—it should stay above 13.0V.
If it drops below 12.5V, the alternator cannot meet demand.
Another quick test: rev the engine to 2000 RPM while watching voltage—output should rise smoothly without fluctuation.
Ripple test: Set multimeter to AC volts. Connect leads to battery terminals.
At idle, AC voltage should be less than 0.1V.
Over 0.5V indicates diode failure—replace alternator immediately to avoid battery damage. This load test is vital for accurate alternator failure diagnosis.
Inspection of Wiring and Connectors
Visually inspect the alternator harness for melted insulation, frayed wires, or corrosion. The main output terminal must be tight and rust-free.
Use dielectric grease after cleaning.
Check the field wire for voltage with ignition on—should read battery voltage. If not, the regulator or PCM may not be exciting the alternator.
Modern cars use LIN bus or PWM signals to control charging. Use a scan tool to view commanded vs actual voltage.
A discrepancy points to a communication fault or bad alternator.
Proper wiring inspection completes your alternator failure diagnosis.
Repair or Replace?
Rebuilding an alternator is cost-effective if only brushes or voltage regulator are faulty. Kits cost $20–50 and take an hour with basic tools.
However, internal shorts, stator damage, or bearing housing wear require replacement. A remanufactured alternator with a warranty is safer than a junkyard pull.
Always test the new alternator before final installation. Verify output at the battery.
For more on electrical diagnostics, check our Automotive & Mobility archive. For original equipment specs, consult Bosch alternator guides or O’Reilly’s testing procedure.
Common Symptoms of Alternator Failure
Recognizing early symptoms can streamline alternator failure diagnosis. Dimming headlights, flickering dashboard lights, or a dead battery are common signs.
A warning light on the dash often appears before total failure. If you smell burning rubber or hear belt squeal, inspect immediately.
Another symptom is a whining noise from the alternator when the engine revs. This can be a failing bearing or a bad diode.
Don’t ignore these cues—they prevent being stranded. Early diagnosis saves time and money.
Essential Diagnostic Tools for Alternators
You need a digital multimeter, a belt tension gauge, and a stethoscope. A multimeter is essential for voltage and ripple tests.
A belt tension gauge ensures proper adjustment.
A stethoscope helps isolate bearing noise. These tools make alternator failure diagnosis accurate and reliable.
For modern vehicles, a scan tool can read alternator control module data. This is useful for intermittent faults.
With these tools, you can confidently diagnose any alternator issue.

